Flatline Van Co Roof Rack for Mid Roof Transit
Materials needed for this project —>
Socket wrench set
Flathead screwdriver
Allen wrenches
I’m here for ya.
Seriously! Reach out on Instagram or YouTube with questions.
Watch the video if you hate reading or are just bored.
Step 1:
Uncover the factory mounting holes.
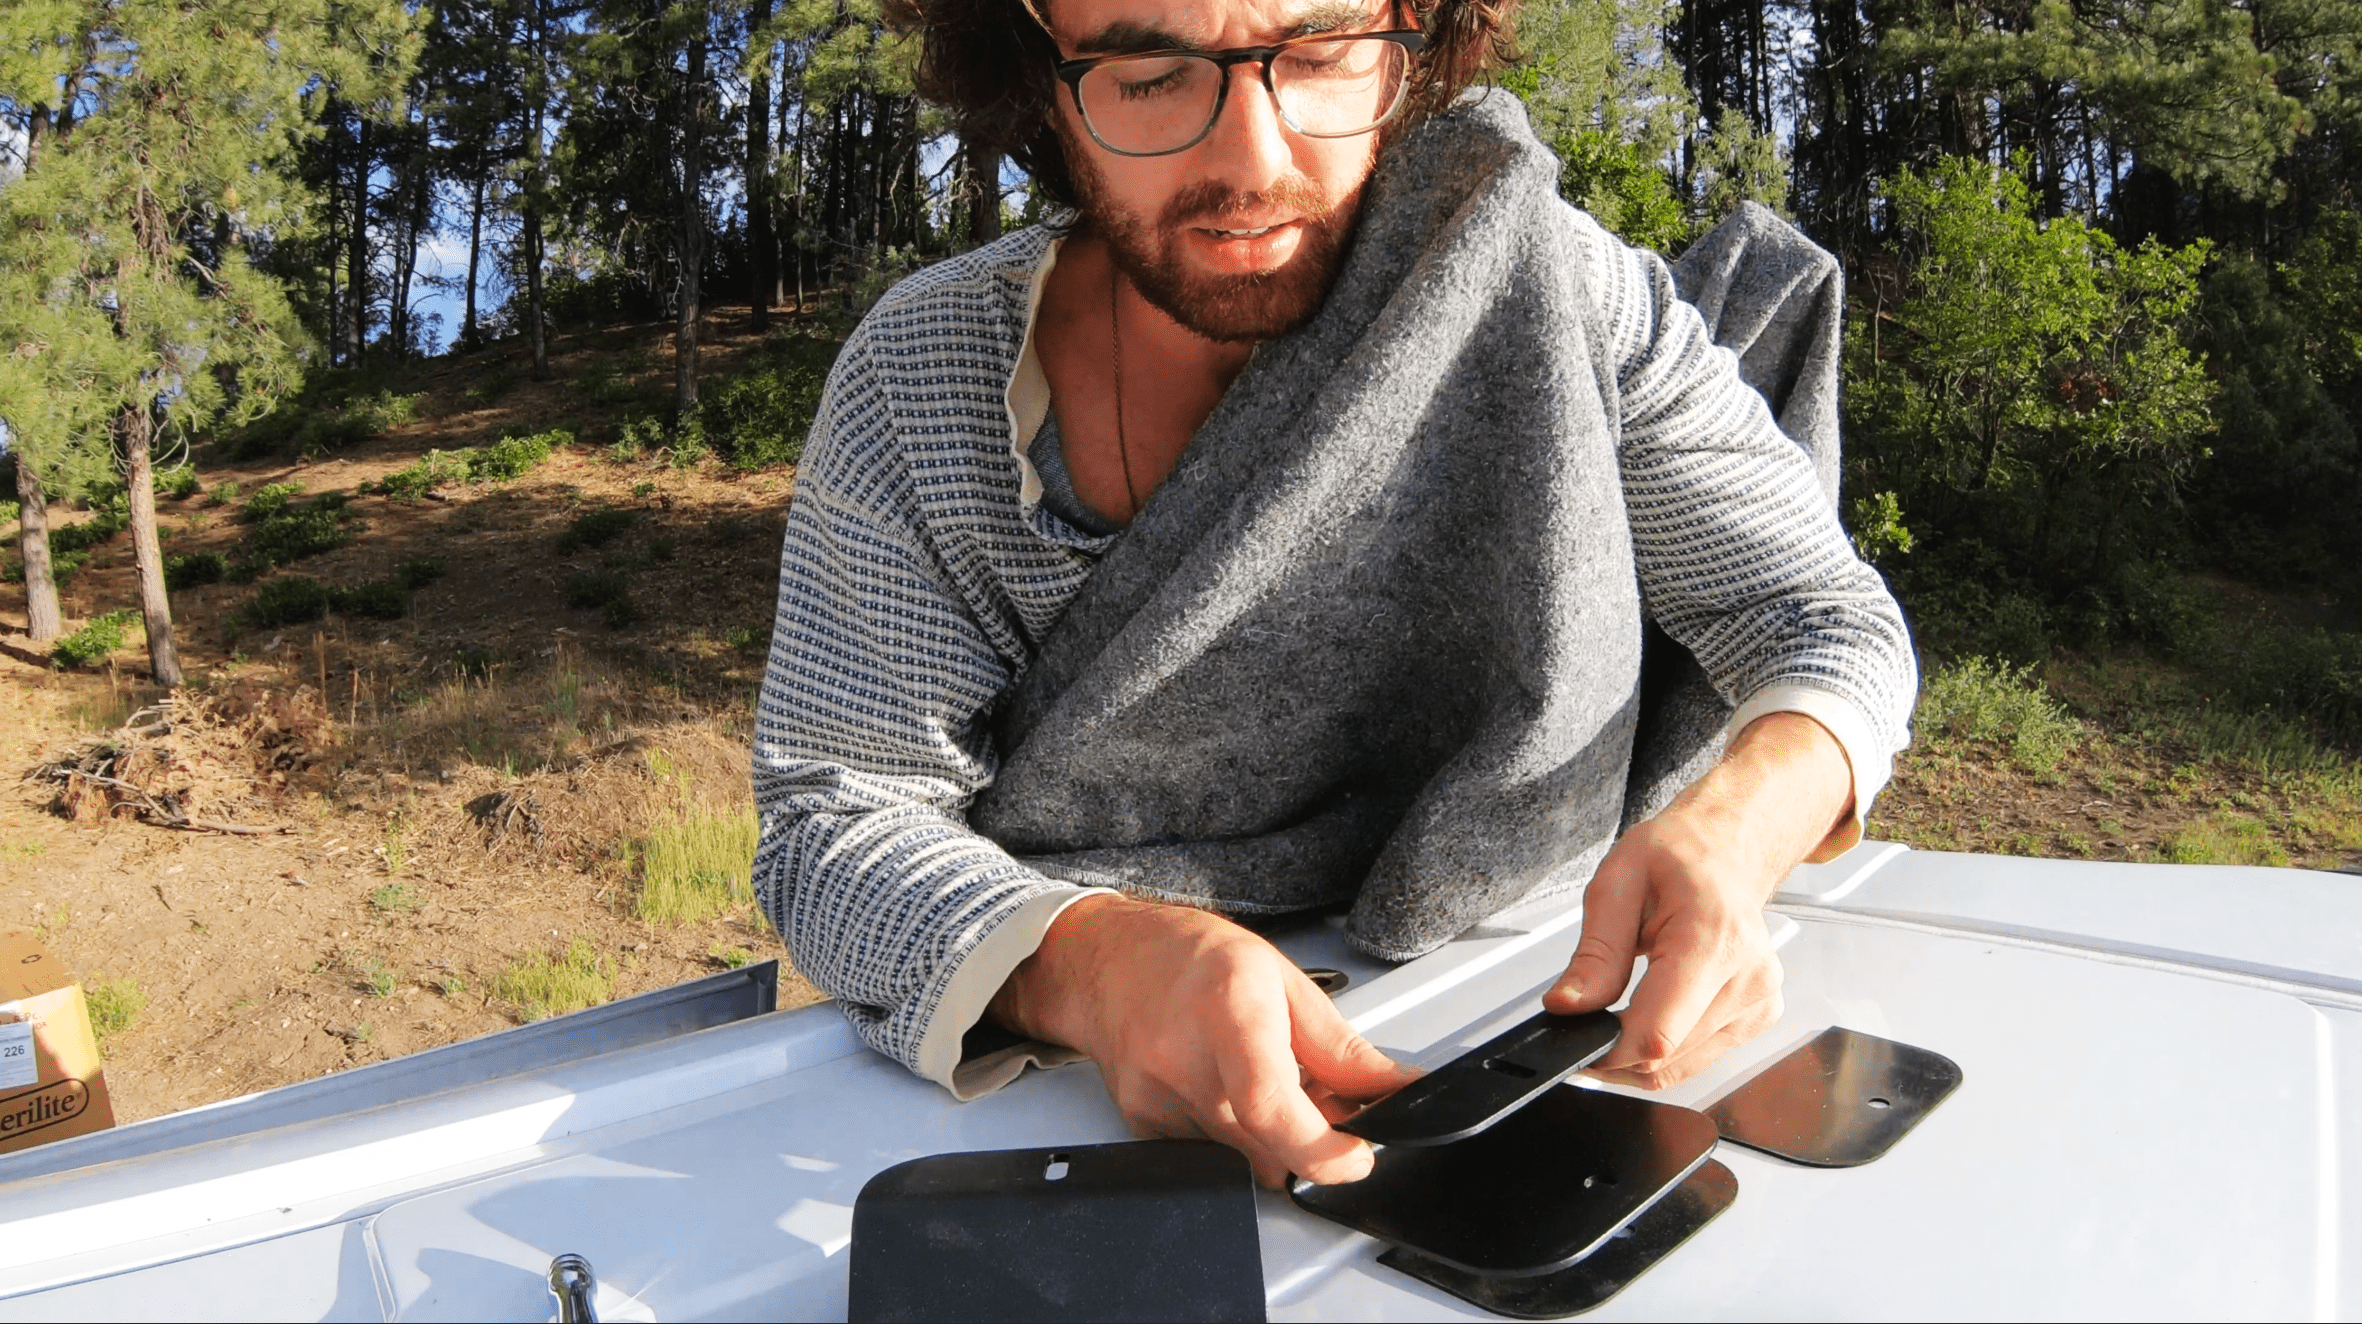
On my 2019 Mid Roof 148 Wheel Base Ford Transit there were a total of eight factory mounting hole locations (four on each side). The easiest way to locate the factory mounting holes is pairing up each of the provided gaskets and mounting feet that come with the rack with the corresponding outlines on the roof. There are additional holes on the roof but they are actual holes in the roof rather than locations of mounting threads. (You can use the other hole locations to run your solar wiring!) In the bottom right photo you can see two holes. One has the outline for the mounting foot around it (the one I’m working at with my flathead) the other does not.
Step 2:
Mount the rack feet!
The rack comes with eight metal feet, rubber gaskets for those feet, bolts, and washers with rubber bottoms.
Place the rubber gasket down to fit the outline on the roof. Place the metal foot over the gaskets so that the holes align to reveal the factory threading in the newly uncovered holes from your work with the flathead (great job, by the way). Insert the bolt with the rubber on the washer facing down so that it makes contact with the metal foot. Tighten that down and make sure the foot is as straight as you can make it. Repeat at all holes!
Step 3:
Attach the side rails to the mounting feet.
A helpful way to know which rails go where is to know that there are “pill slots” (basically just what they sound like - slots in one set of rails that resemble pills and that are not on the opposing side) on the set of rails that goes on the DRIVER’S side.
The shorter of the rails on each side goes in the rear.
To tighten the mounting screws you’ll need an allen wrench or similar type tool as well as a crescent wrench to hold the nut still while tightening bolt.
Once you have the rails up, you join the shorter to the longer rails on each side with a flat metal piece with four holes in it. NOTE: when I had my rails up and tightened down on the roof, there was a misalignment of about an inch that interfered with the connection. I think this is from an inconsistency in the actual van NOT an issue from FVC’s beautiful rack (no, they are not paying me). To fix this issue I simply inserted a washer or two between the rail and mounting foot to raise one rail to the level of the other. :)
Step 4:
Attach the cross-rails.
This part is simple. Take each of the 80/20 rails up and lay them roughly where you want them (I put four in the back for mounting my solar panels and spaced the rest out accordingly).
There is a box of bolts and washers that came with the rack. This is when you’ll use all of them.
Work the 80/20 bar into position then insert a screw (with a washer) through the slots on the outside of the rack into the thread in the 80/20 bar. Repeat this process for both thread holes on both sides for all rails and tighten down when everything is in its final position. :)
Bonus Step:
Attaching the FVC Front Fairing.
If you go with purchasing the FVC Front Fairing the installation is quite simple.
You can either just attach the front fairing at the six holes (three on each side) and be done with it. Or, you can go an extra step and attach the front fairing to one of the 80/20 rails for added stability.
I went ahead and attached the fairing to an 80/20 bar just for the added security.
The easiest way to go about this is to take front fairing and one of the 80/20 bars down on the ground to work on. If you’ve never worked with 80/20 fasteners before (me before this project) then it might not seem obvious at first but the easiest way to attach those weird little pieces is to thread the small bolt through the FAIRING holes, twist on the 80/20 flat pieces onto the ends of each of those screws, and THEN slide the 80/20 bar over all of those pieces sticking out of the fairing…Maybe it seems obvious to you but I definitely spent a good 15-minutes trying to put the flat fasteners inside the 80/20 bar and THEN thread the screw through the fairing and into those flat pieces inside the 80/20 bar…not fun and not easy and just not the right way! Learn from my mistakes.
Final thoughts:
Once I had my solar panels up and was pretty confident with where the cross-rails were sitting, I took out all the screws holding the cross-rails in place and used a little bit of Loctite Threadblocker on each screw because I noticed that after 1,000 miles or so of driving some of the screws had started to loosen as a product of all the road vibrations.
Additionally, I believe I will contrive an extension to the FVC Front Fairing. As you can see, it leaves quite a large gap for air to flow under the rack and eventually get trapped under my solar panels which are in the back. I noticed a 2-4MPG reduction in my average MPG on road trips, which I would like to try to get back!


