Maxxair 05100K MaxxFan for DIY Van Build
Materials Needed for this project—>
Metal blades for jigsaw (specific to Bosch - this is wood and metal since you'll need to cut wood eventually)
Markal marker to treat the exposed metal
Butyl tape (for between the fan mount and the roof adapter)
Roof adapter for Transit but they also sell for other models (highly recommend!)
3M Window Weld (for between adapter and roof)
Dicor self-leveling lap sealant (for sealing the whole fan and mount to the roof)
Painter's tape (might as well get it now, you'll need it the entire van build)
I’m here for ya.
Seriously! Reach out on Instagram or YouTube with questions.
The video is more fun than reading.
Step 1:
Build up the courage!
Now let’s do this.
Step 2:
Decide where you want your vent.
If you plan on having solar panels that will influence where you can place your vent. You also should consider where you want the vent in relation to your kitchen/bed. Some people want ventilation over the bed and some over the kitchen. I put mine over the kitchen.
I would also encourage you to think about HOW you are mounting your panels/if you will have a rack (I am very happy with my Flatline Van Co rack!)
Step 3:
Get up on the roof and place your adapter where you will cut your hole.
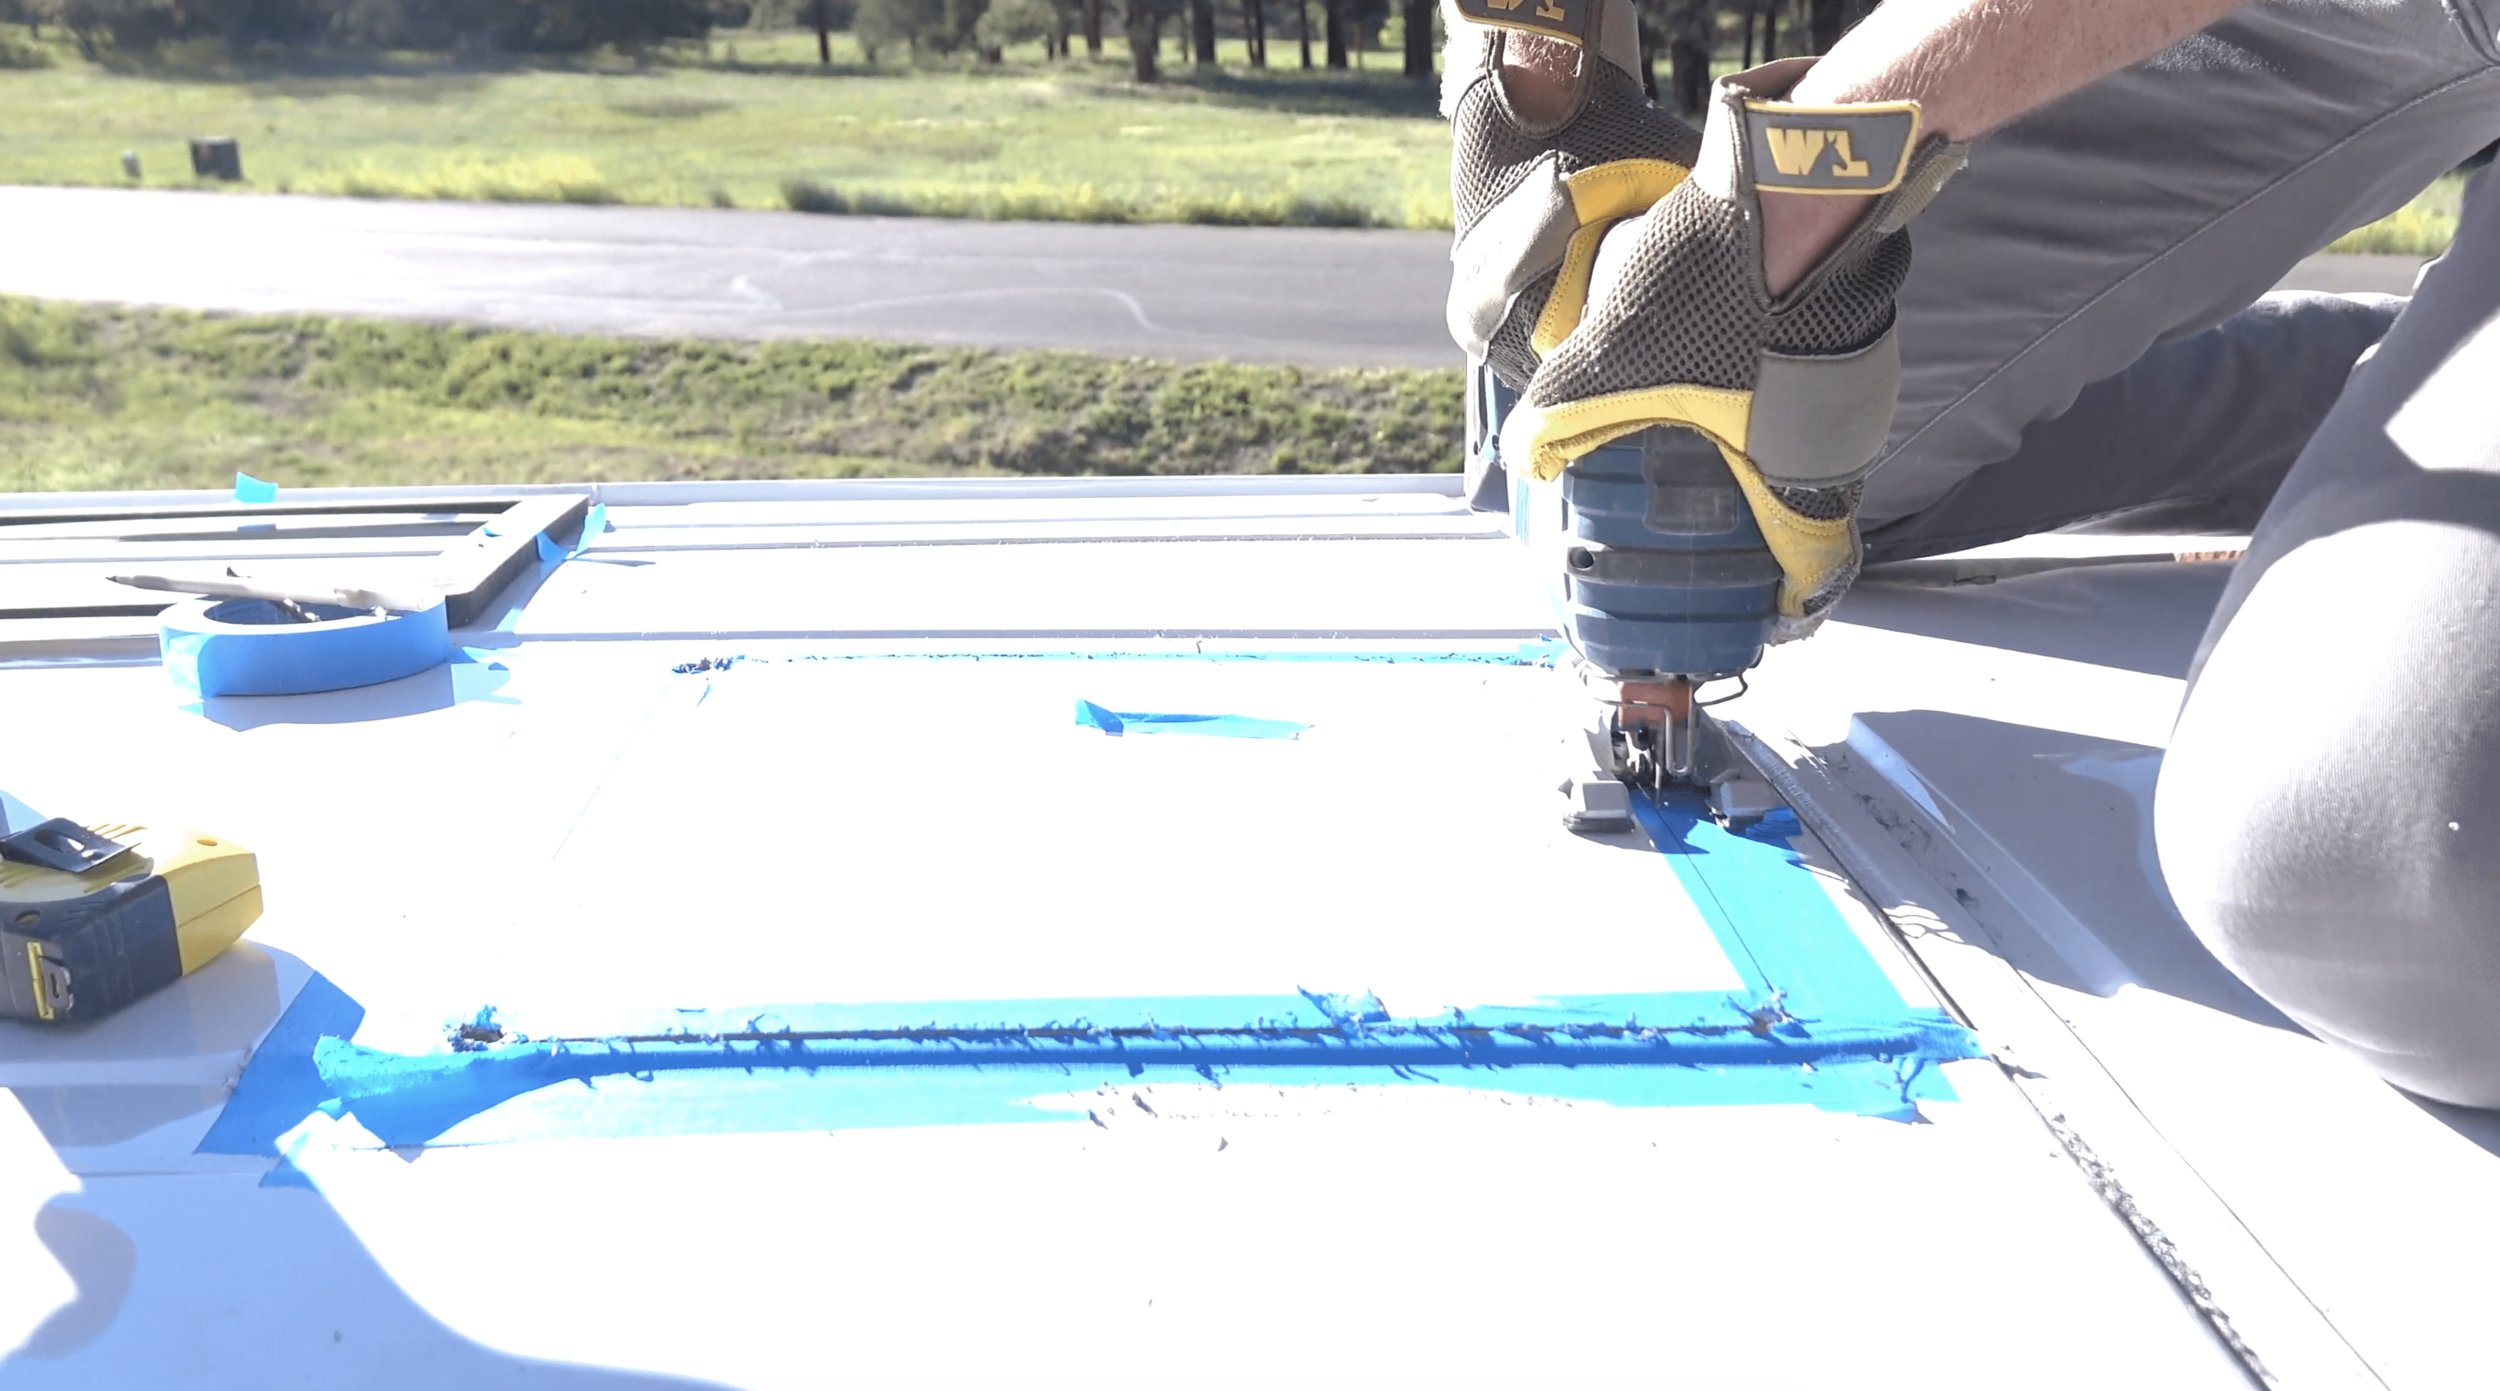
Once your adapter is in place and looks flush (it should conform to the contours of the roof like mine does here), remove the adapter and place painter’s tape all around where the adapter was. Replace the adapter, hold it firmly in place, and trace the outline of the inside of the adapter onto the tape. Remove the adapter and now you have exactly where you will make your cuts.
Side note: if you’d like to try to avoid getting metal shavings all throughout your van, hang a plastic bag under where you will be cutting.
Now, with a drill-bit slightly larger than the size of your jigsaw blade, cut four holes. One in each corner of the outline. Drill on the inside of the outline.
Step 4:
Cut out the hole!
Place your jigsaw blade through one of your drilled-out holes and start cutting!
Just go slow and steady. Hold that jigsaw firmly and go at a speed that you’re comfortable with. Follow that line you traced on the roof.
If your cut is rough and doesn’t quite follow the line that is OK within a certain margin of error (a small margin). Just try to stay as close to that line as possible.
Step 5:
File down the rough edges, treat them with that Markal marker, then attach your adapter to the roof as well as the base of the vent.
Once you’ve removed the painter’s tape, go ahead and file down the rough metal edge in the hole using a metal file. After that, treat the exposed edge with the Markal marker. Now, take your 3M Window Weld and run two beads around the BOTTOM side of the adapter (the side that will sit flush with the van’s roof). Then take the adapter and fit it right around the hole, make sure it is in the correct position and then press it down to make sure it is flush with the roof.
Now, take the base of the vent (the part without the big shield top) and fit it through the hole over the adapter. I held everything in place using c-clamps to make sure nothing moved then drilled 16 self-tapping sheet metal screws through the vent base, the adapter, and into the roof!
Step 6:
Attach the main vent and seal everything up!
The vent then fits right over the base you just screwed into the roof and then attaches with four screws. Two on each side of the vent.
Side note: make sure you face the vent the correct direction!
Once the vent is attached, take your Dicor Self-leveling Lap Sealant and use the whole tube to make sure every inch of the outside rim as well as each of the screw locations is totally covered in sealant. No reason to be shy with this sealant. better over-do it now than regret it later.
Final Thoughts:
I was so afraid to do this project by myself. I was this close (holds up fingers quite close to each other) to hiring a company to do it for me. But, I am so glad that I took it on myself.
Once you’ve built your electrical system, simply hook up the positive and negative wires from the vent to their matching wires and boom, you’ve got a wonderful amazing fan :) Congratulations. You’re a bad ass now.


