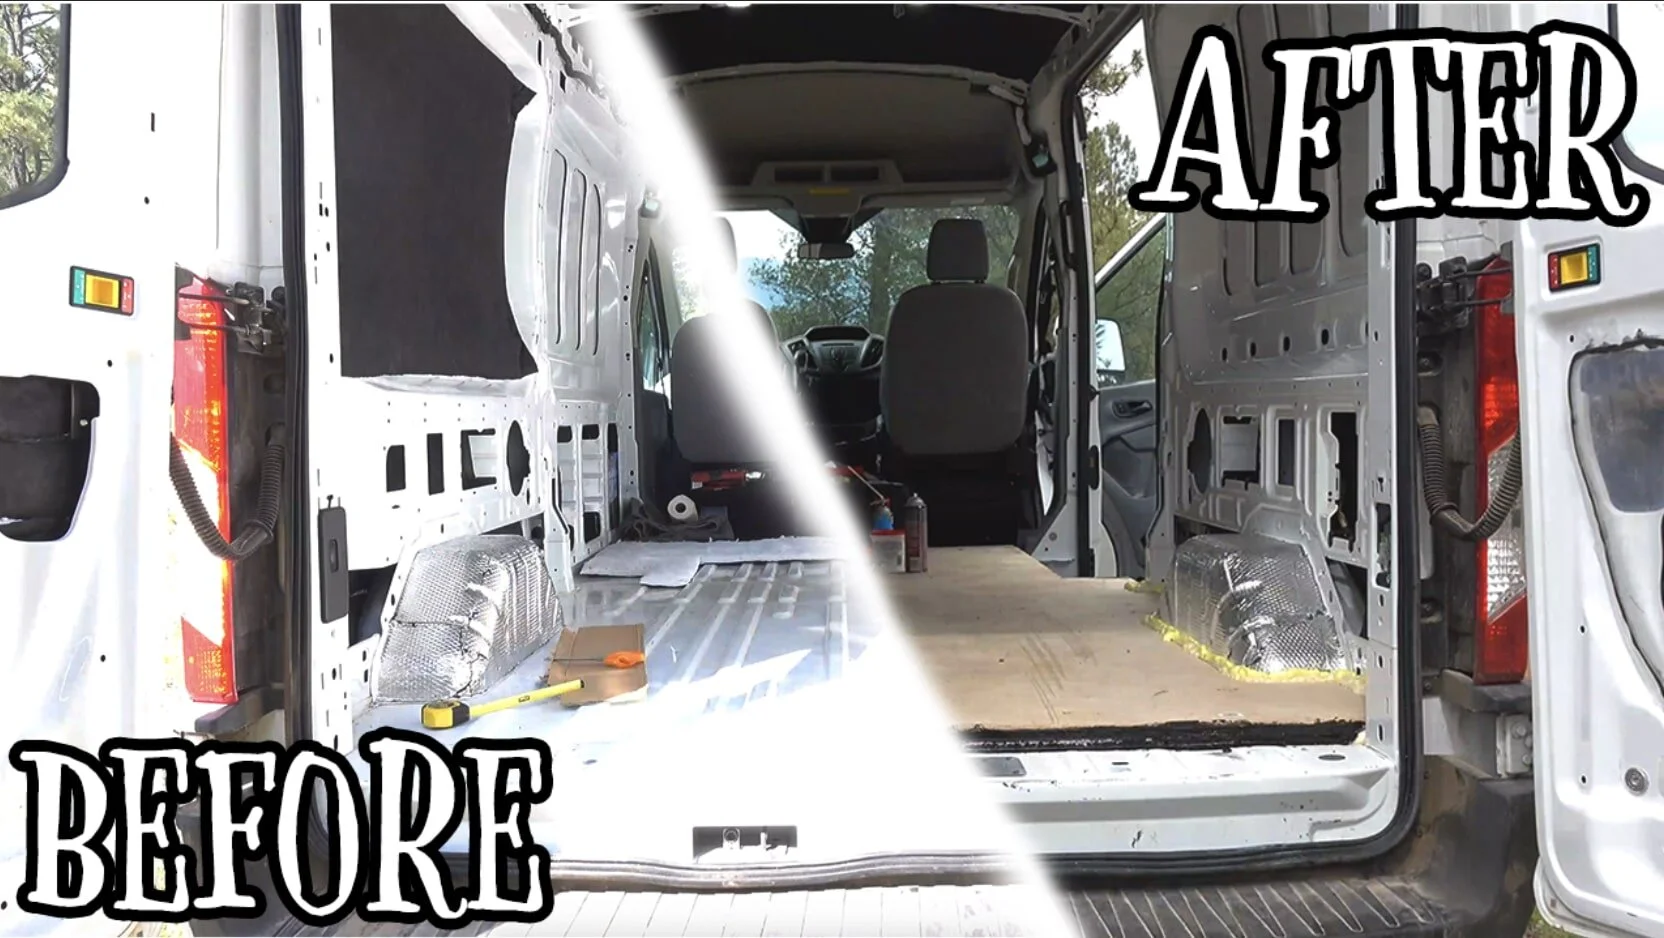
Insulated Subfloor in DIY Van Conversion
Materials needed for this project —>
Foamular I used (x3 4x8 sheets)
A jigsaw or a utility knife
Plywood (x2 4x8 sheets) I went with 1/2 birch plywood
3M 77 or
I’m here for ya.
Seriously! Reach out on Instagram or YouTube with questions.
The video is way more fun than reading.
Step 1:
Cut cardboard templates of the wheel wells.
In order to make the best possible fits for your floor, I would recommend using a sheet of cardboard to cut out the shape of your wheel wells so you can just cut that straight out of the Foamular and plywood when you come to that step.
I left a 1 inch (roughly) gap between the wall of the van and the floor and therefore let that reflect in my cardboard template. The 1 inch gap is for filling with Gaps N Cracks. Would I do it again, I would probably shoot for leaving less than 1 inch. Because 1 inch was excessive.
In my van layout, all of the walls will be covered by furniture so I was not worried about rough edges/the vinyl flooring that would later be installed sagging a bit/being uneven around the edges because it would all be hidden.
All in all the floor has turned out wonderfully for me! So you could follow my guide and still have a great floor.
Step 2:
Cut the large pieces of Foamular and plywood for your floor.
I used three 1/2” 4x8 sheets of Foamular in total and two 1/2” 4x8 hardwood plywood sheets. Two of the Foamular sheets were for the main, large pieces seen to the right. The scraps and remaining sheet were for the individual strips lining the grooves in the floor (upcoming step).
I recommend cutting and fitting the large pieces of Foamular and plywood now, making sure everything is all set for installing the subfloor pieces on top of each other (the strips, the large Foamular pieces, and then the plywood), taking everything out and THEN filling all the grooves with the strips of Foamular.
NOTE: It is wise to have as few seams as possible. As you can see in my build, I ended up with an awkward space in the very front between the main floor and the cab where I had to stick strips of Foamular and plywood to bridge the rest of the gap to reach the cab. If I could go back, I’d make cuts that included that awkward little extension in the main pieces of plywood.
NOTE on previous step:
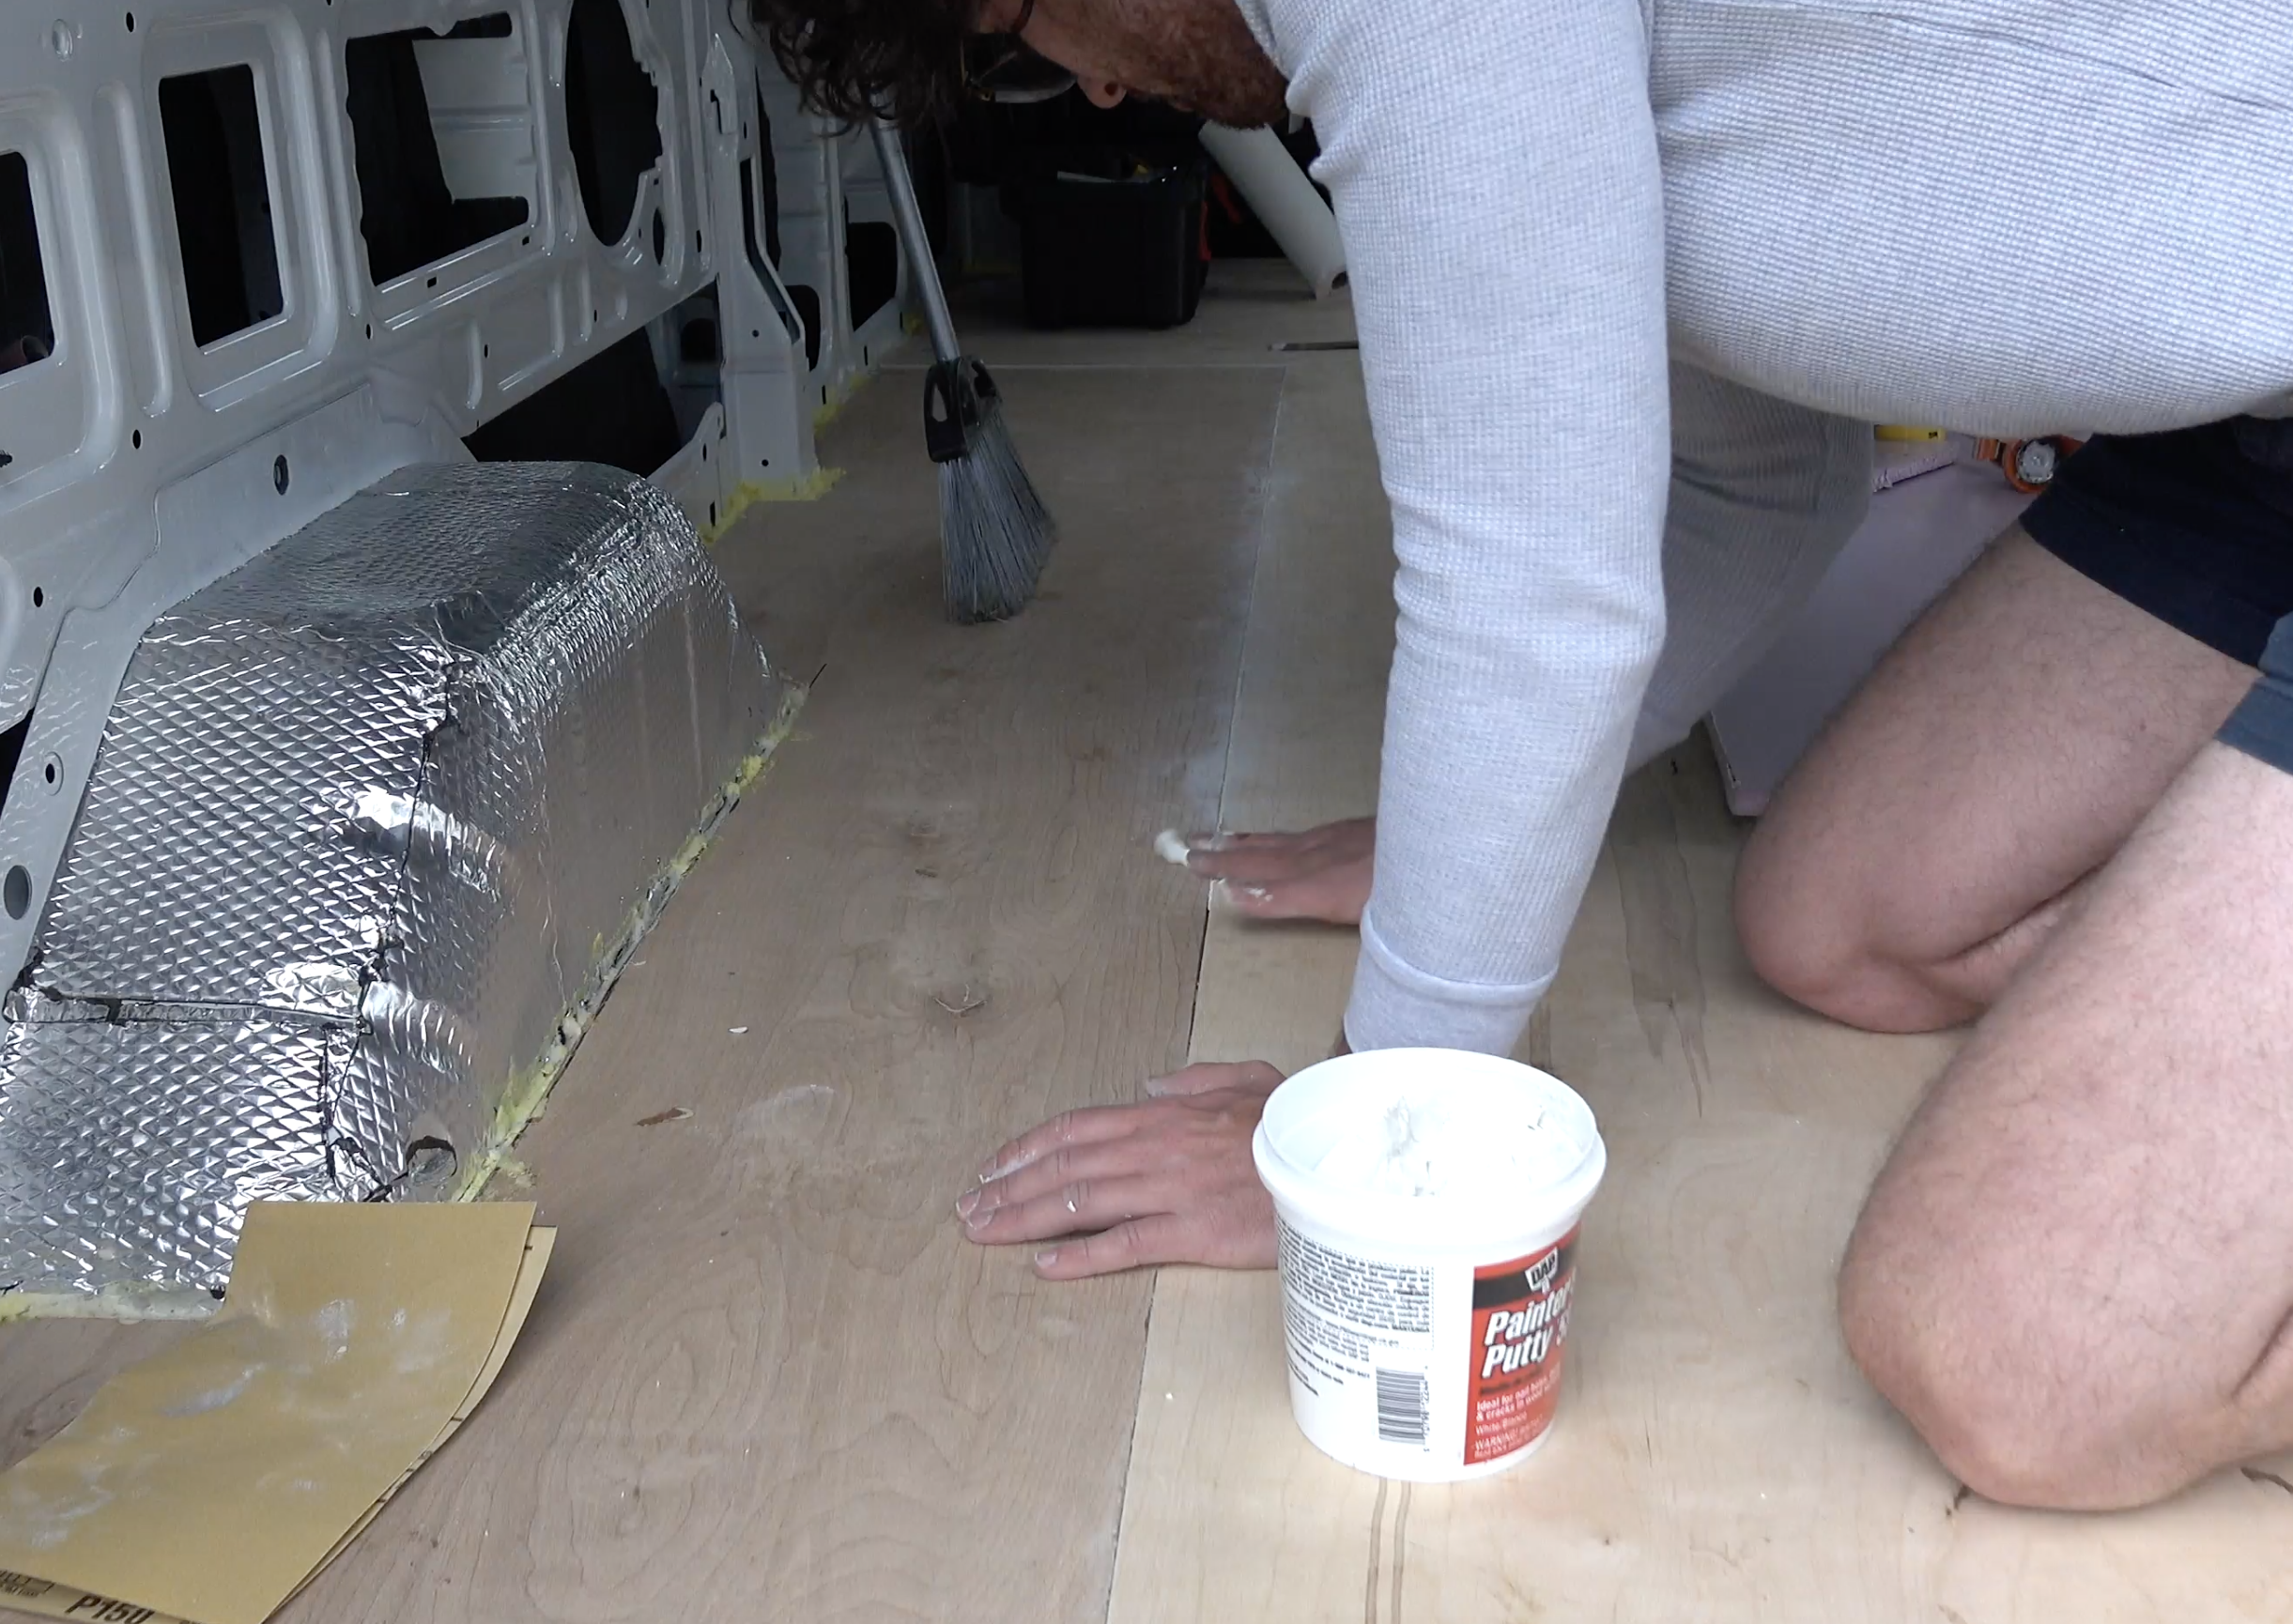
I also made all my seams line up between the Foamular and plywood because it was easier to just make the same cuts I made in the Foamular with the plywood. But, I think it would have been wise to stagger the seams. See the picture to the right where my hand rests over a major seam? You can see that the Foamular and plywood seams meet at the same points. I would have reversed the cuts of the plywood so that the seams would be staggered rather than on top of each other. I think this would have strengthened the floor.
Step 3:
Cut and fit all the Foamular pieces to fill all the grooves in the van floor.
This was a very tedious process in the subfloor construction. The van has 0.4” (roughly) raised metal grooves all over the floor. People handle this in many different ways. But the way I choose to follow meant cutting strips of Foamular to fit between all those grooves (my 1/2” Foamular left a small gap between the top of the metal grooves and the 1/2” Foam strips but the gap is negligible) in order to level the van floor surface before installing the main cuts of Foamular and plywood on top.
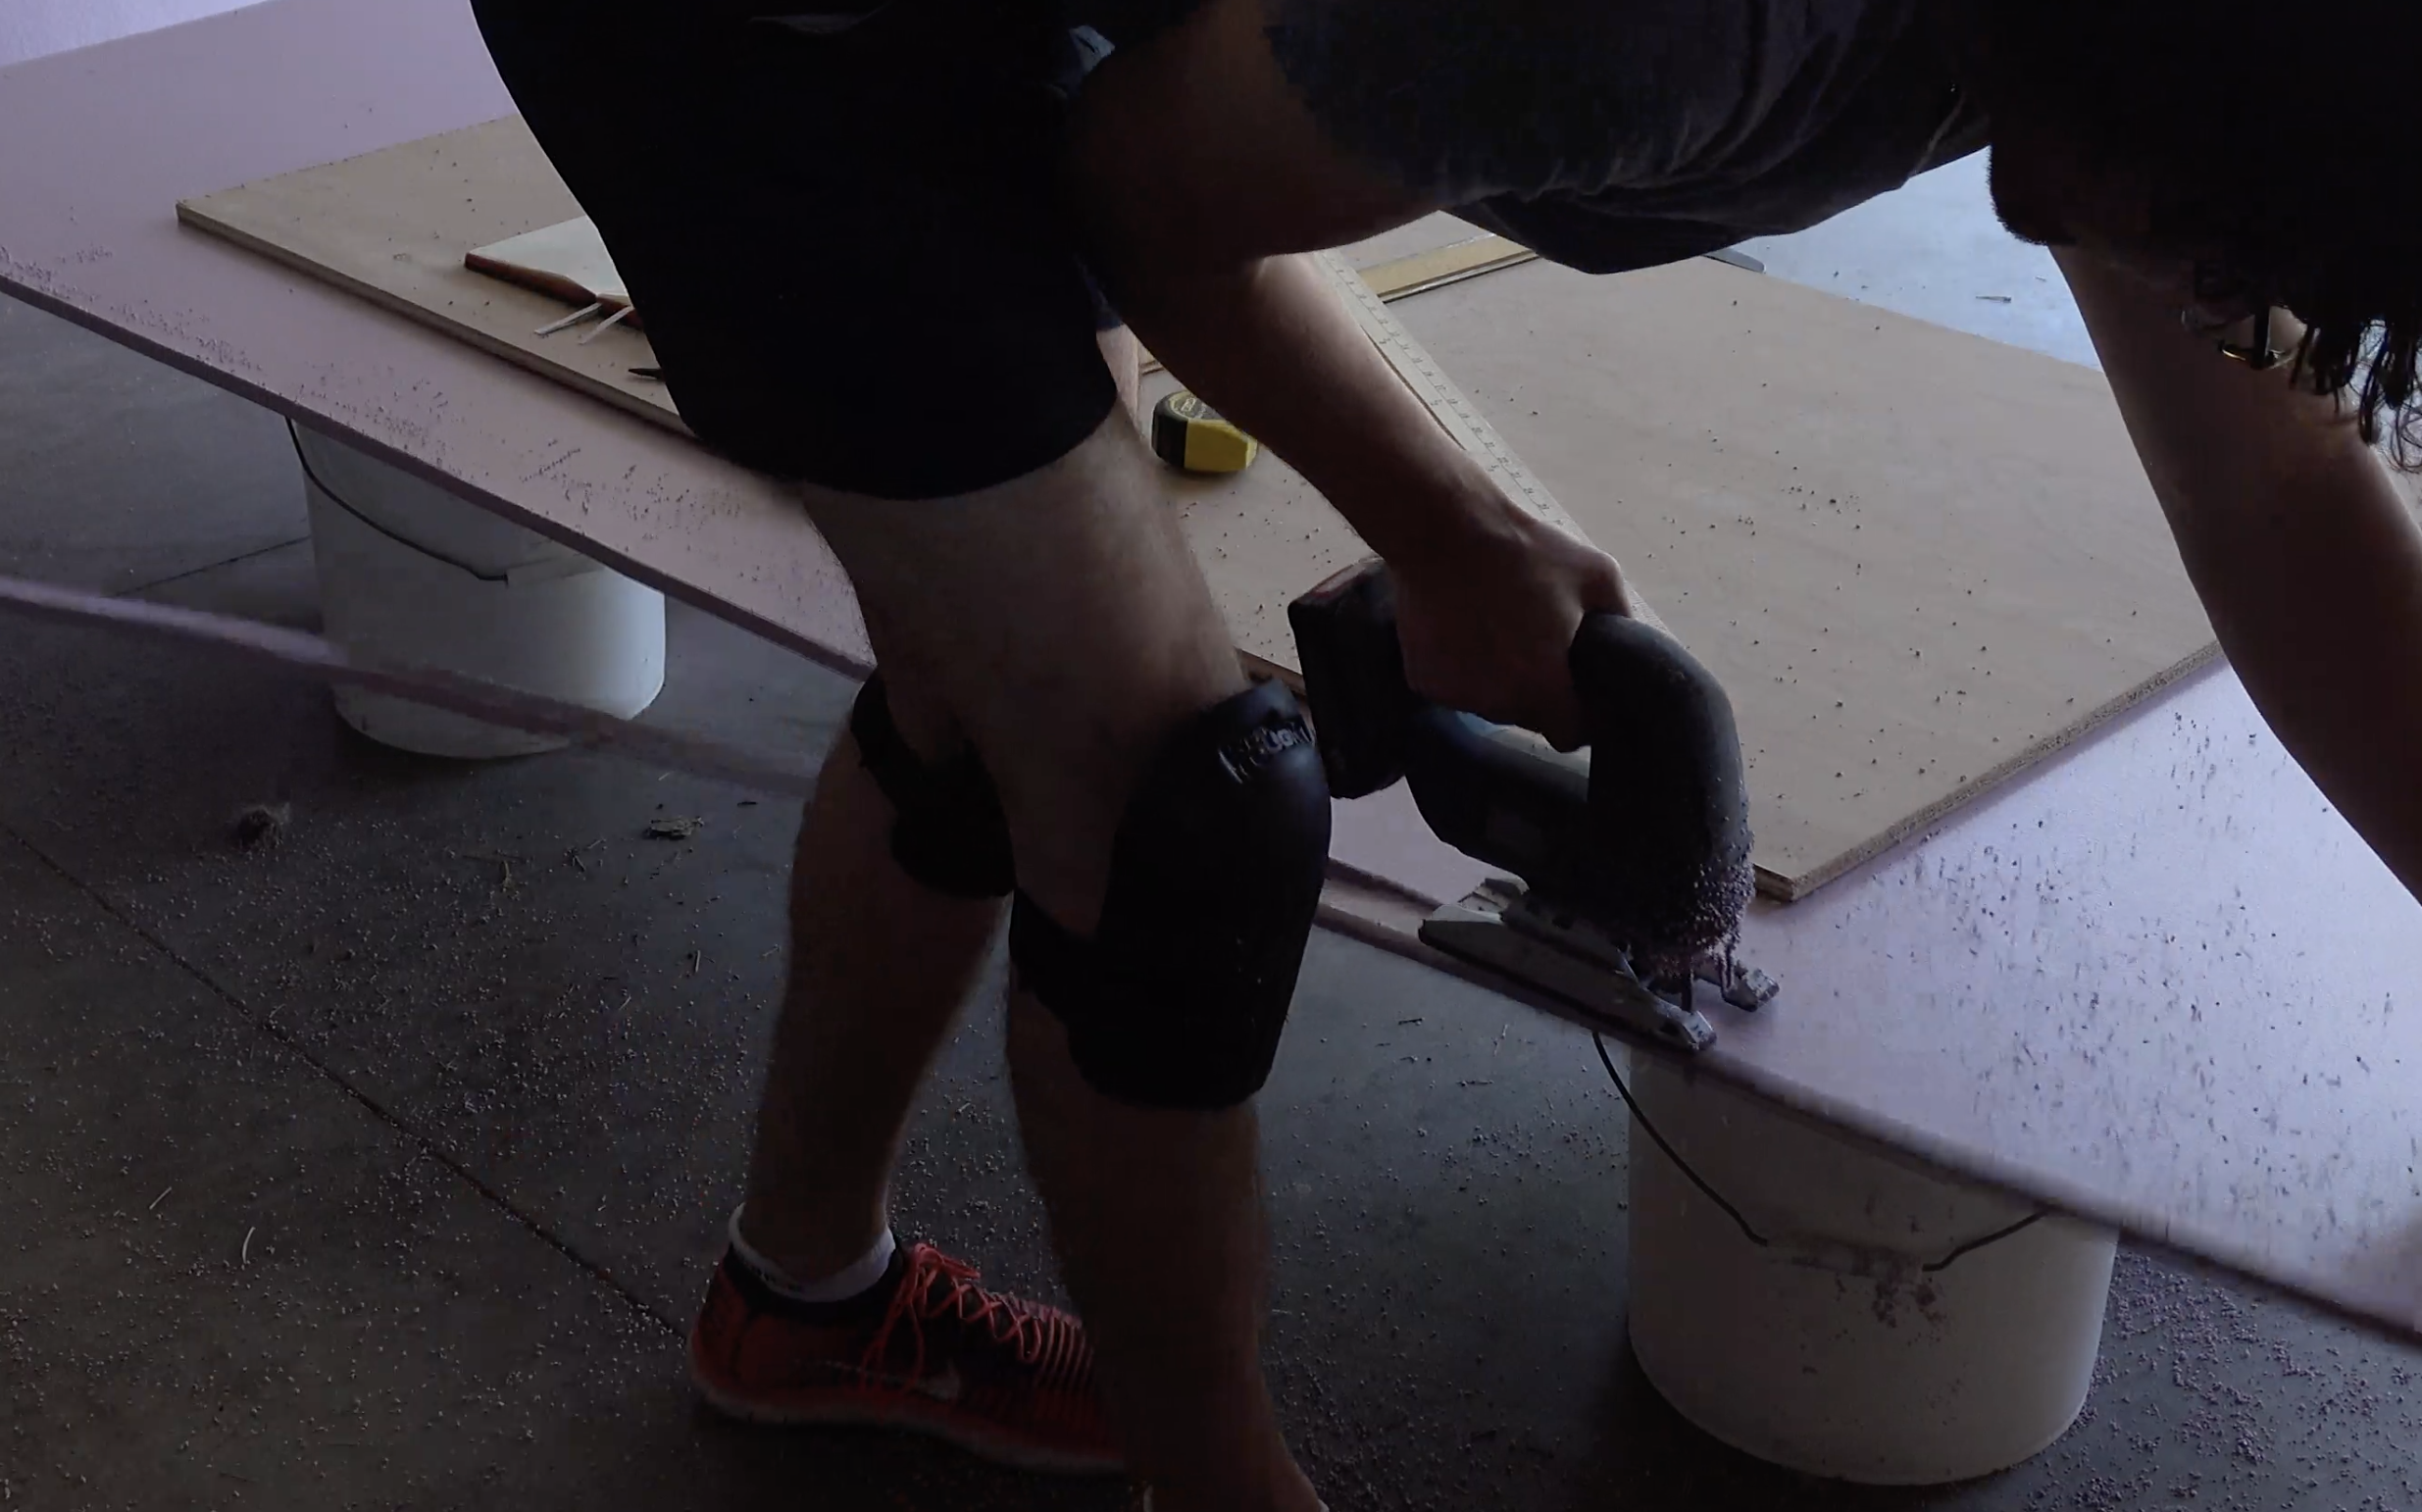
I started out using a utility knife to cut the Foamular but that was ridiculously slow and uneven.
I changed to using a jigsaw and was SO glad I did. Using a jigsaw made far straighter cuts and also made the process go far more quickly.
NOTE: It is in your best interest to try to get creative with the strips so that wherever you can, you’re installing a single strip or piece rather than several for the same space. The less moving pieces the better!
After you’ve cut and fit alllll those crazy strips, take some 3M 78 (or 77) and adhere all the strips to the floor by spraying on the floor and the back of the strip, waiting 30-seconds (the wait is actually important folks. It makes the bond much stronger) and then putting down the strip in the place you want it to stick.
NOTE: do not use 3M 90. It will, apparently, “attack” XPS (Foamular is “XPS” aka Extruded polystyrene). Use 3M 78 between the metal floor and the strips of Foamular.
Step 4:
Adhere the large cuts of Foamular to the strips you just installed.
Since you already cut out your large Foamular pieces and made sure they fit well in the van, this next part is simple!
NOTE: there is a condom-like thin plastic wrap on one side of the Foamular. If I could go back, I would remove that thin plastic sheet. Later on in the build I noticed that some of the floor was not adhered securely because the adherent had adhered to the PLASTIC sheet and not the Foamular itself…remove the condom.
Wait for the strips to dry (I waited about 30-minutes), then fit all your large Foamular pieces exactly where you want them to end up in the van floor. Take a few heavy objects and place them on the Foamular pieces so they cannot be budged accidentally. Then remove whatever piece you want to start with, spray 3M 78 over the exposed metal grooves and Foamular strips and on the back of the larger piece of Foamular you’re about to install. Wait those 30 seconds and then fit that piece back where it goes. It should go exactly where you want it since you weighed down the other, adjoining pieces!
Repeat this process for all of the remaining pieces while trying to keep the pieces from shifting and messing up those beautiful edges and seams you worked so hard to cut in your floor pieces.
Step 5:
Fit and adhere the large plywood cuts.
Repeat the same procedure you did with the large Foamular pieces. Place all the large pieces of plywood exactly where you want them to end up, weigh them down, remove one piece at a time, adhere it, replace it, and repeat the same process with all the rest of the pieces until your plywood is adhered and sitting right where you want it.
I used several tubes of Silicone II All Purpose between the Foamular and plywood.
NOTE: I wished I had used way more Silicone than what I did. I ran snake-like beads around the Foamular that seemed sufficient. I ended up having to go back, pry up the plywood and squeeze a heck ton of Silicone under the sheets to try to get them securely adhered before moving on to the vinyl flooring.
If I could go back, I’d use 3-4 tubes just on the Foamular you’re attaching the plywood to. Use more than you think necessary now rather than having to go back and apply more down the road.
Once all the pieces have been Silicone under each one (it’s good practice to push each piece back and forth a little bit to spread the Silicone underneath it) and they are weighed down exactly where you want them, add more weight!
Put in as much weight as you can manage, spread over as much of the floor as you can. Let it sit for 24-48 hours with that ridiculous amount of weight in order to give the Silicone the best chance of bonding the plywood to the Foamular.
Step 6:
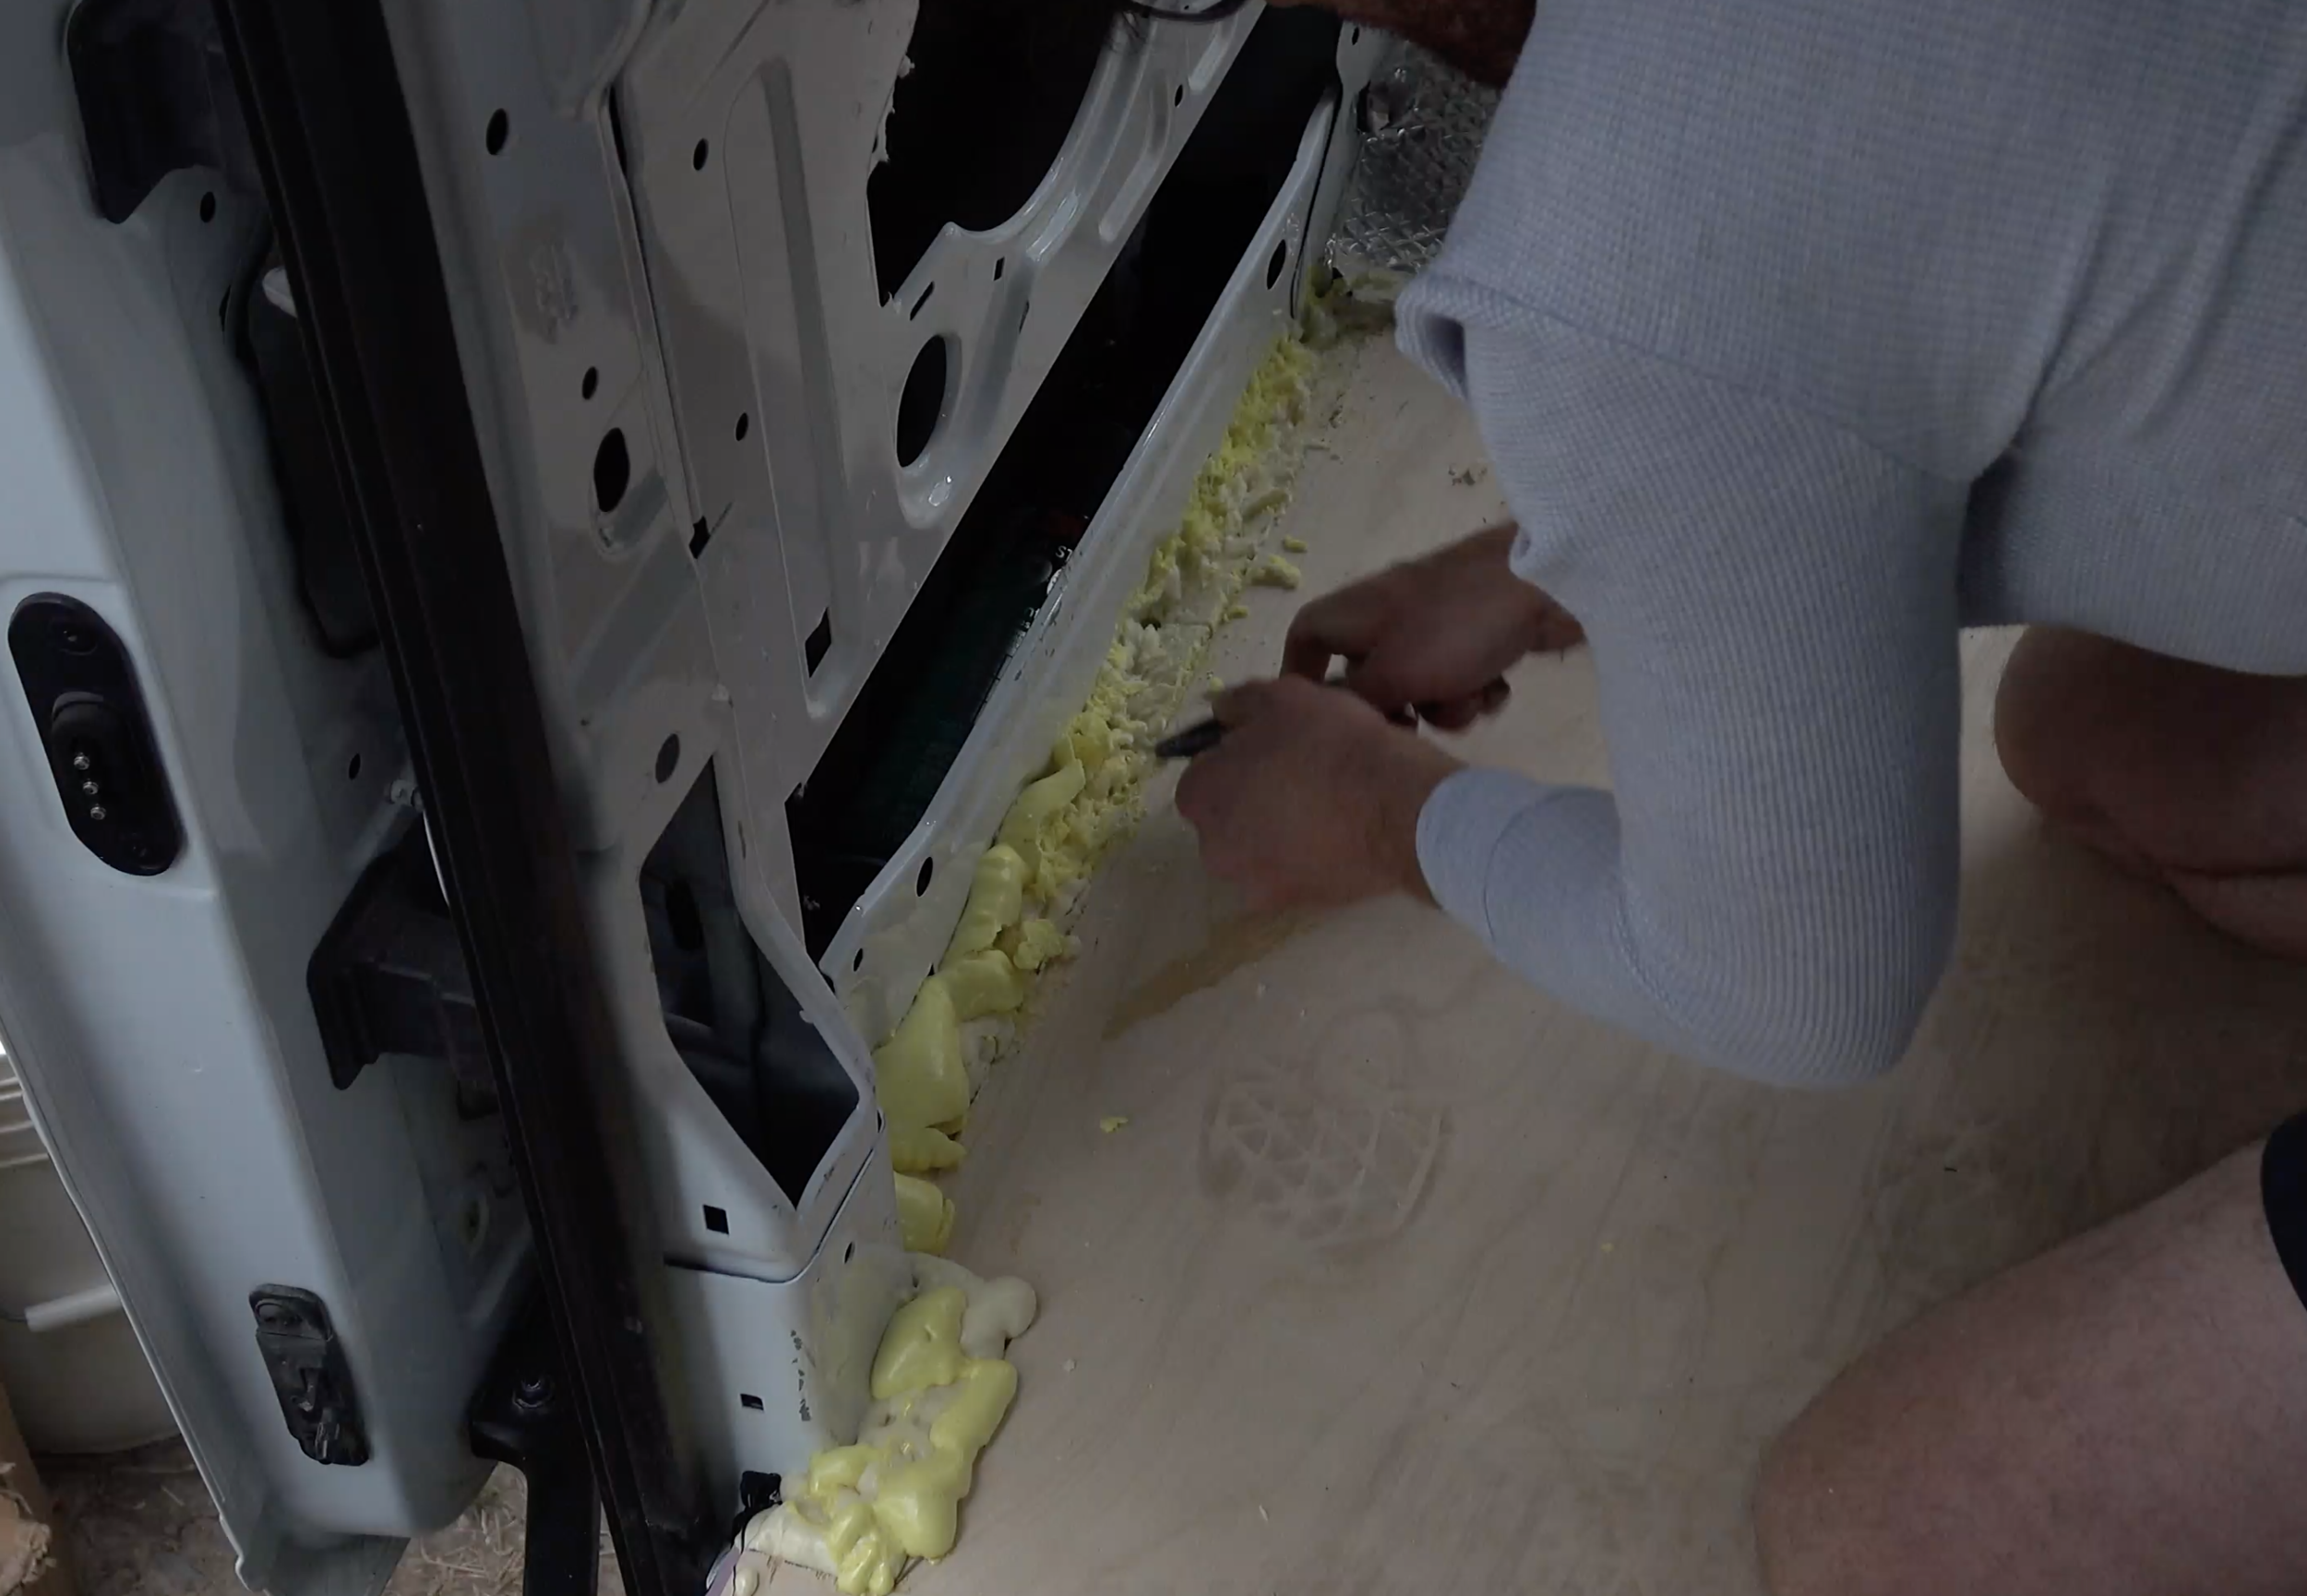
Fill the gap all around the edges of the floor with Gaps N Crack.
Read the instructions carefully on the can and watch a video on how to apply Gaps N Cracks if you can! I just went for it and my foam job wasn’t the best…it was very uneven and full of holes and gaps (how ironic). This wasn’t a problem for my build because all of the edges in my van will be underneath furniture and therefore they don’t need to be perfect since no one will see them and no one will walk on them.
Once the gaps around the edges are filled, let it dry and then remove the excess with a utility knife to make as flush an edge as you can. Your finishing layer will rest over this so get as flush as you can! I used vinyl as my finishing layer and it laid nicely over the foam edges.
Step 7:
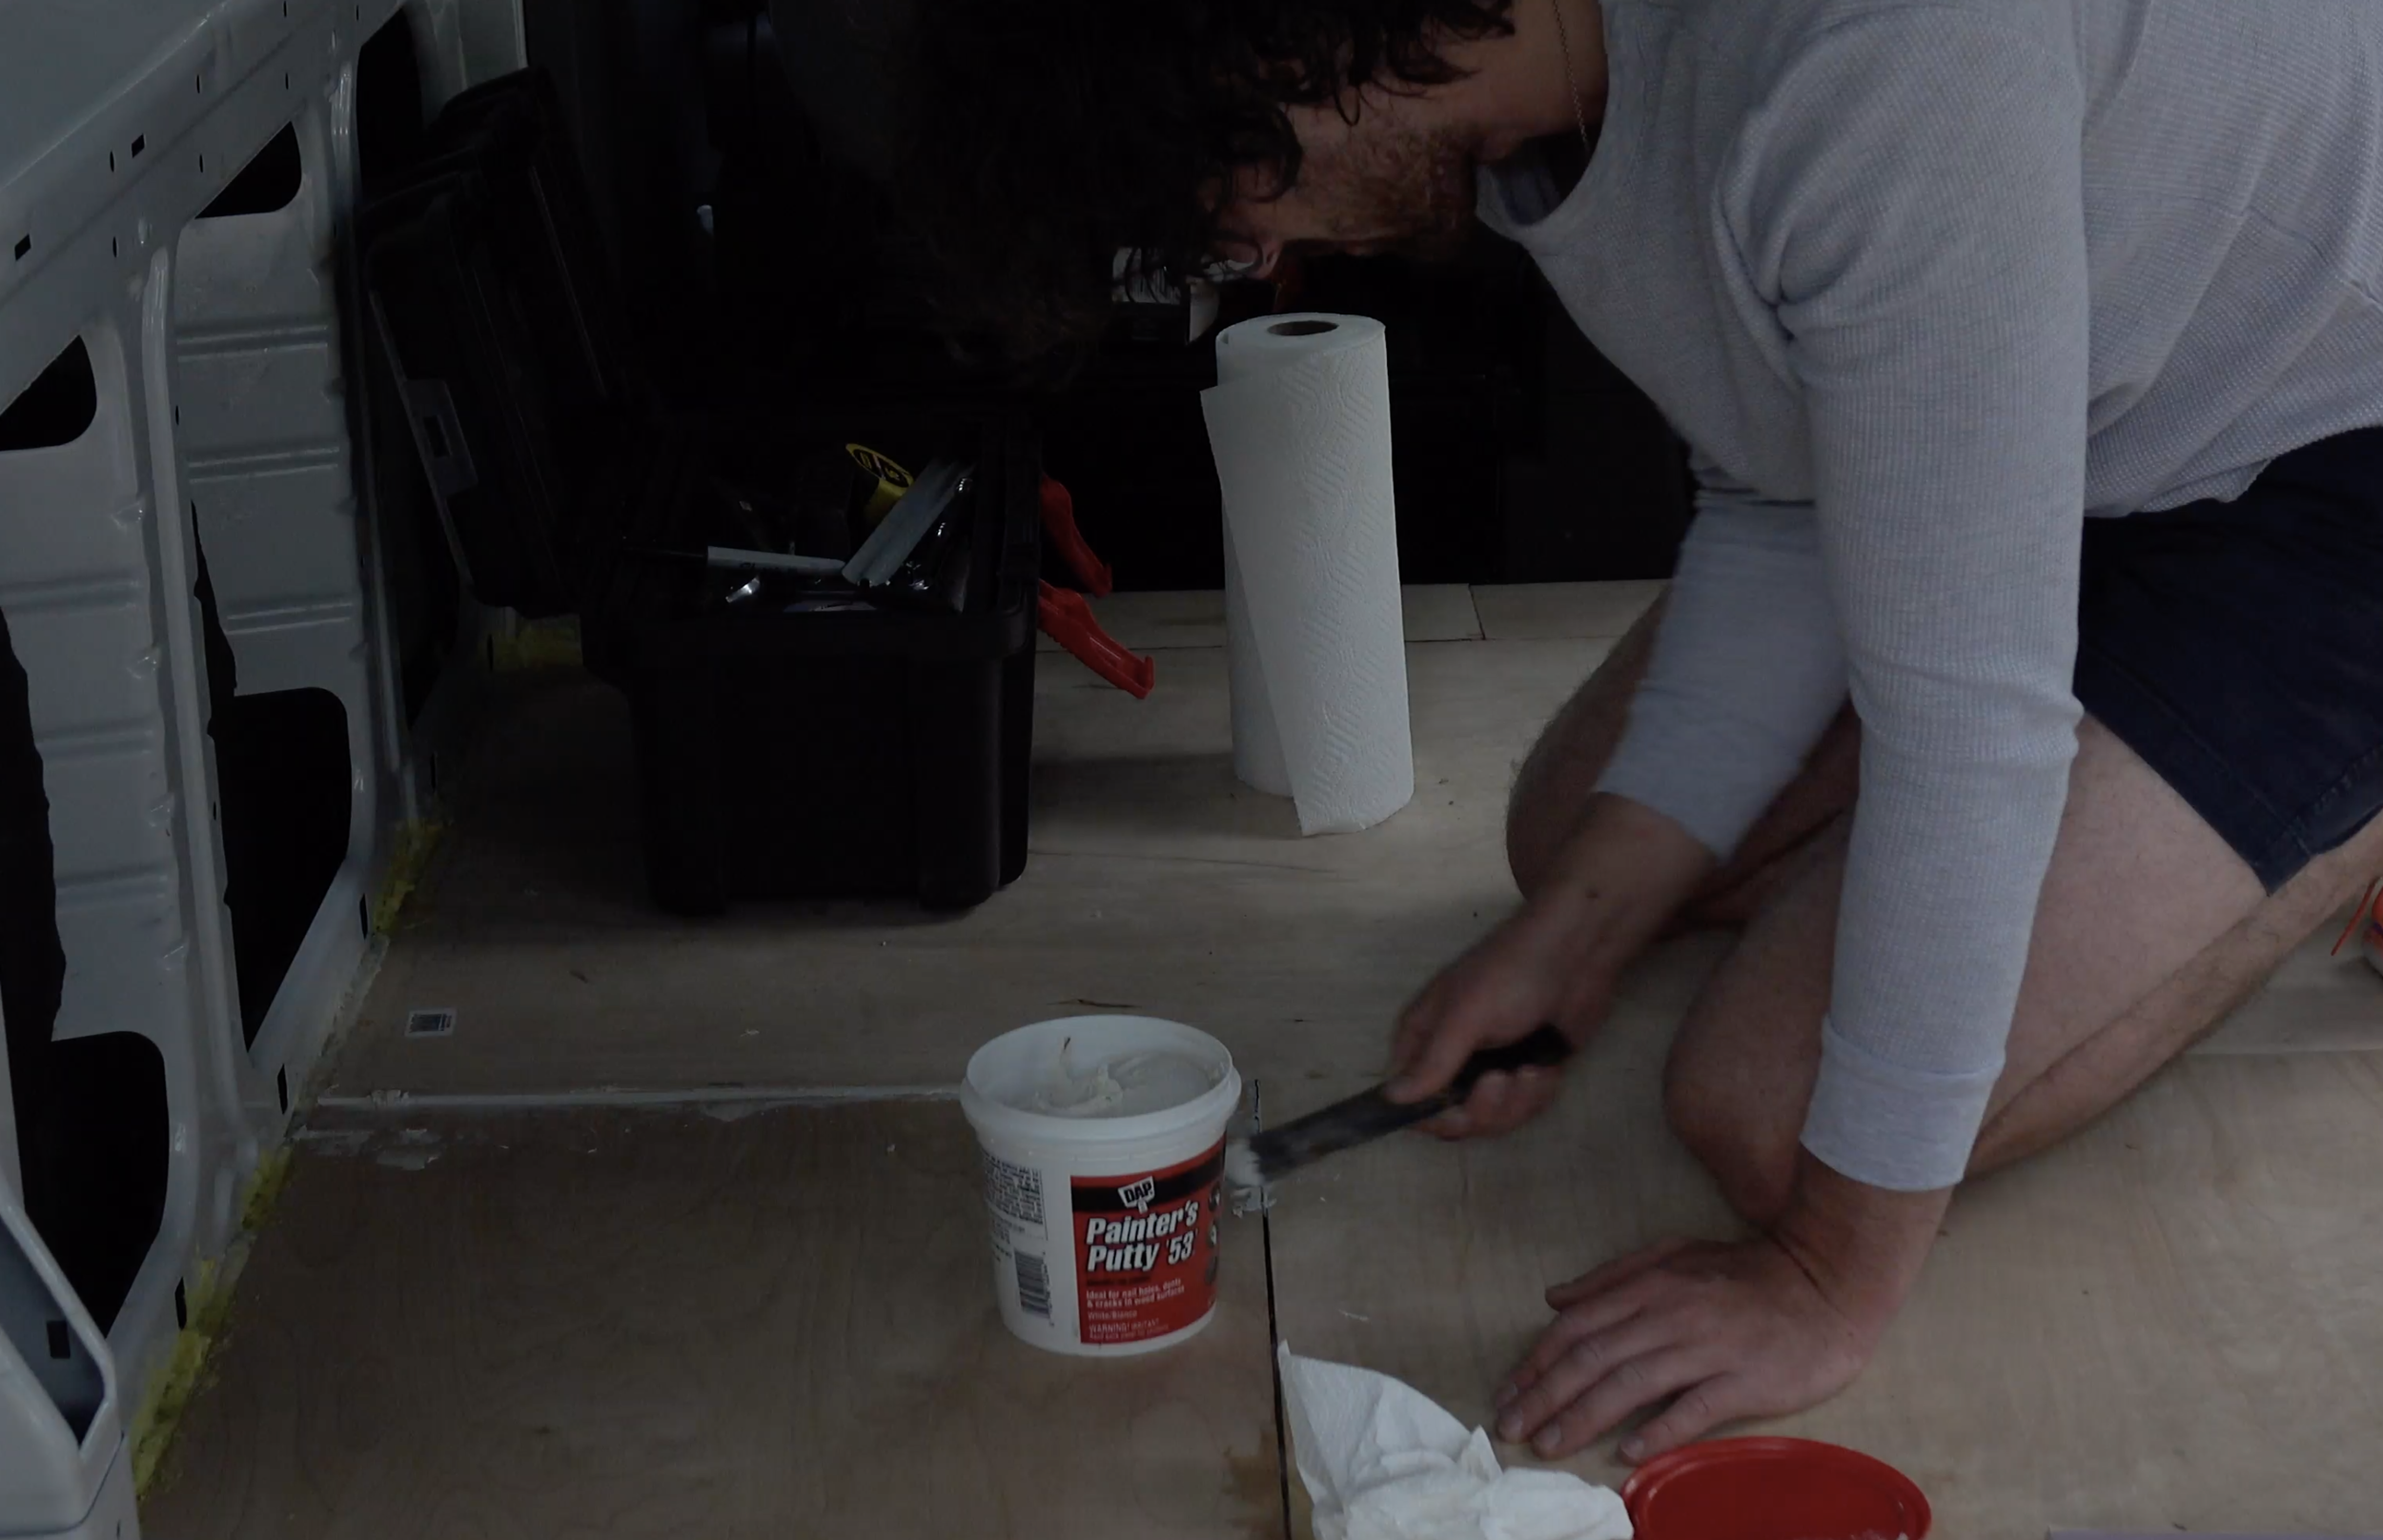
Use painter’s putty to fill the seams in the plywood.
I am not sure if this step was necessary but I was advised that vinyl (the finishing layer I knew I’d be using) can “fill” seams or gaps even if those seams or gaps are very, very small. It can amount in a small divot in the vinyl rather than a perfectly smooth surface.
Just to be safe I put some putty in the cracks!
I ended up just using my hand in circular motions with putty on my hand and fingers to work the putty into the cracks.
Again, not certain it did anything but I have zero divots in my vinyl floor so maybe it did help!
Final thoughts:
I am very happy with my subfloor considering my lack of experience and tools! I would recommend everything I did with the notes I’ve added here.
Mainly, stagger your seams, try to make cuts such that you have as few seams and disconnected pieces as possible, watch a tutorial on how to apply Gaps N Cracks, use more Silicone than you think is necessary.


