Beautiful Vinyl Flooring in the Van Build
Materials needed for this project —>
The vinyl I went with (I bought 9 units)
The adhesive I bought
But a lot of people also use this one
You'll need a trowel
A rolling pin from the kitchen (seriously)
I used a pair of scissors and a utility knife to cut the extra vinyl while installing
I’m here for ya.
Seriously! Reach out on Instagram or YouTube with questions.
The video is fun if you get bored of the reading.
Step 1:
Figure out how much vinyl you’ll need.
If you go with ordering through Home Depot (or probably other places as well) it can be a bit confusing as to what you are ordering in relation to what will actually arrive at your door (or at the store for pickup!)…or maybe it was just me that was confused.
I knew that my van floor was about 12 feet long and about 6 feet wide. So, I used their square footage calculator, entered those dimensions and it told me I needed “9 units” of the vinyl floor…which seemed scary, like I was ordering 9 separate pieces of vinyl when what I really wanted was ONE solid piece with no seams.
Everything turned out OK though! The vinyl came as one solid piece 13ft long and 6ft wide with the pattern of short boards running PERPENDICULAR to the length of the vinyl.
I was happy with this as the ceiling in my van is also running cross-wise and the boards in the vinyl pattern are short so there are multiple junctions in the floor at any given point which I think looks beautiful!
Side note on the design of the van!
I have had incredible design expertise help from Tricia Jane Grant throughout the whole van-build process.
I felt rather lost as soon as I realized by choosing to DIY this van…I have to make it look pretty all on my own. I thought I would end up making a hideous van and regret it forever until Tricia calmed me down and helped me organize my ideas and provide inspiration and much-needed direction.
She even made this beautiful mood-board to help get things started in a consistent direction.
I can’t tell you how incredibly satisfied I am with how the van is looking aesthetically. Big thank you, Tricia!
Step 2:
Dry fit your vinyl and decide if you’re going to pre-cut or cut as you go.
When we started out, we laid the vinyl out over the floor and got an idea of how it was going to fit.
After that we started adhering the floor (which overflows on all sides and out the back due to ordering slightly more than we need for the purpose of making sure we cover the entire floor) and cutting the extra vinyl off (along the edges, cuts for each pillar or wheel well or stair area, and then at the very back with all the extra) as we went along.
If I were to go back, I think I’d dry-fit the floor, lay it out so it is exactly where you want it, then cut most (but not all) of the extra material before beginning to adhere. This would make the process easier since you’d have less vinyl getting in the way. BUT if you do this…be very careful with what you cut off.
If you don’t mind a cumbersome process and prefer to play it safe, just cut as you adhere :)
Step 3:
Begin adhering the vinyl!
We started from the front so that all the extra vinyl would overflow out the open doors in the back rather than bunch up against the cab driver and passenger seats.
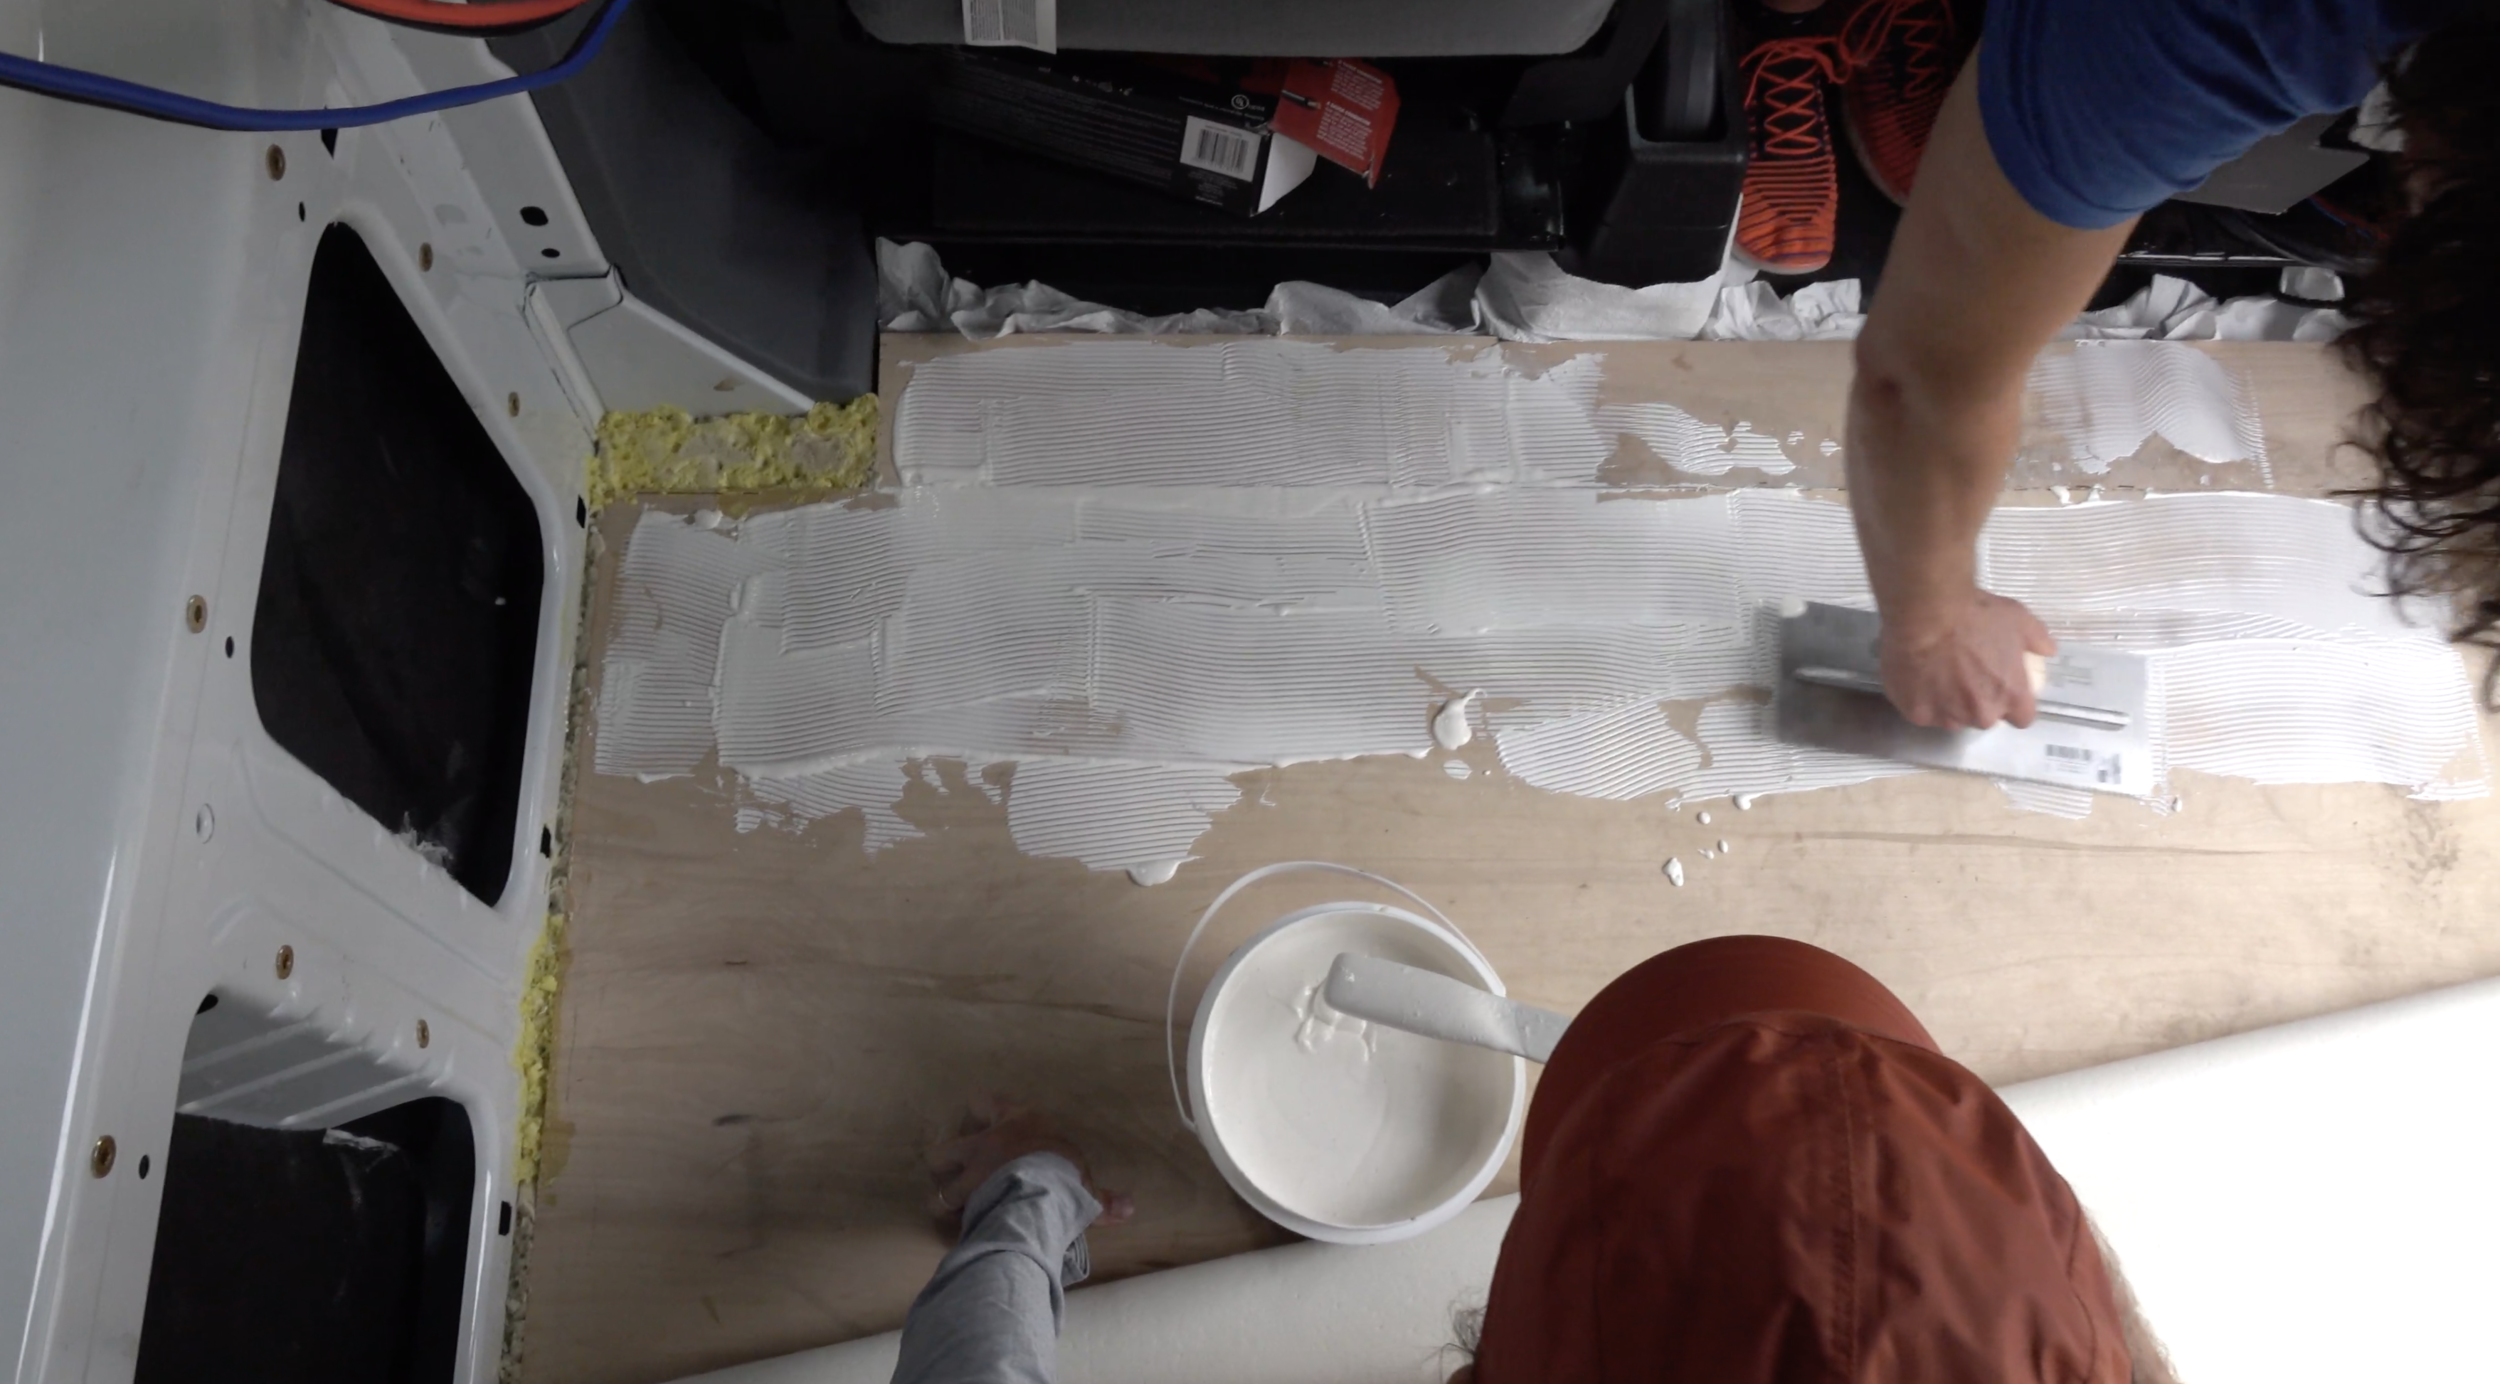
We laid the entire vinyl sheet out on floor to make sure it was as straight as we could get it. Then we laid some heavy objects on the front portion and rolled the whole thing up toward the cab, removed those heavy weights to access the floor directly behind the cab and adhered about a 1-foot section by plopping down some adherent and scrapping it to be a consistent coat over the plywood subfloor using that trowel.
Try your very best to adhere this portion in a straight line (so that the vinyl will flow straight down the van and out the back). If there is even a small offset here it will lead to a gap of several inches on one side of the van in the back once you’ve rolled out the 12-feet (and several inches of excess vinyl on the opposing side).
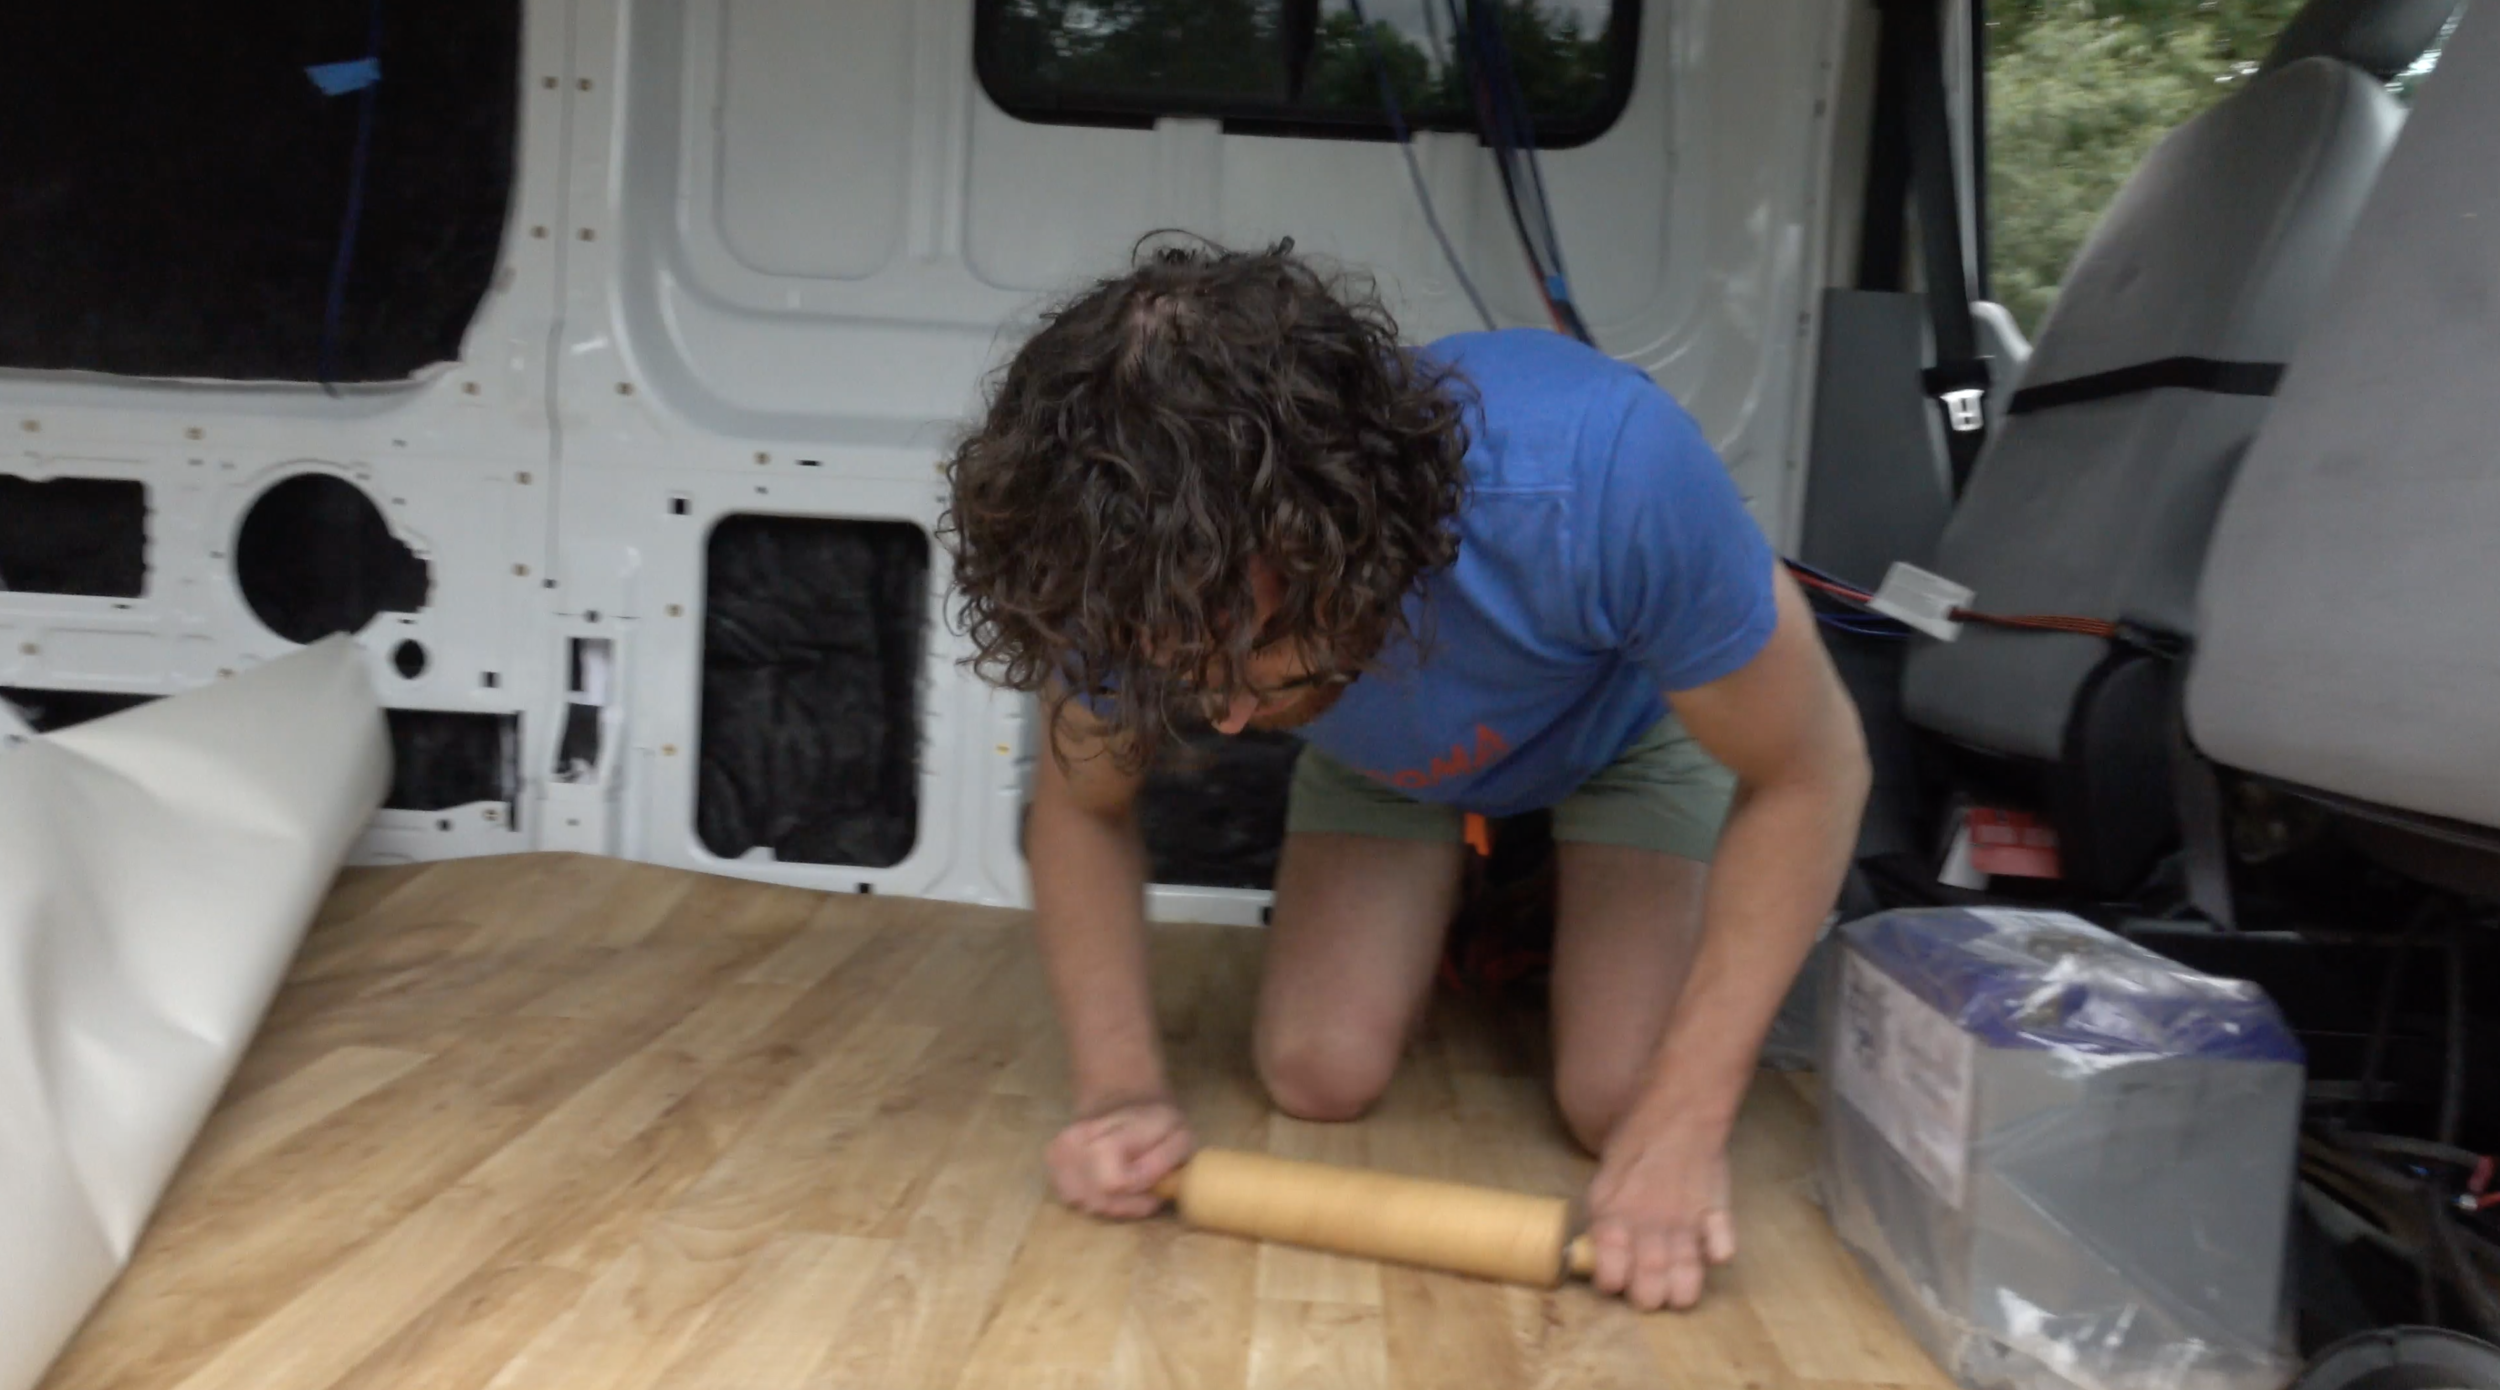
We then used a rolling pin straight from the kitchen to roll over the vinyl that had adherent below it and try to work out all bubbles or bumps or inconsistencies in the flat surface. The flatter the better!
Step 4:
Repeat this process all the way back!
Once we set the front foot or so with adhesive, we weighed down that front section using heavy objects (my Battleborn batteries) and then repeated the process of rolling back the vinyl (now toward the front of the van) to access the part of the floor to receive the adherent, plopping and spreading that adherent, rolling the vinyl back over that newly treated part of the floor, and getting on top and working it straight and flat with the roller pin.
We continued this process all the way to the back of the van while cutting out excess vinyl at wheel wells etc. along the way and adhering in about 1-2 foot sections at a time.
Once we finished and cut off the excess sticking out the back, I weighed the entire floor down as completely as I could to let the floor set for 24-hours.
Final thoughts:
Overall, I am very, very happy with the floor! I couldn’t believe how beautiful it was and to this day still find it marvelously pretty when I open the doors of my little home on wheels.
As I mentioned above, if I were to go back I think I’d cut away roughly the amount of excess vinyl before beginning the adhering process just to make the whole rolling it back and forth a little easier.
Other than that, I am sp happy with the color, look, durability, clean-ability, and ease of install for someone who doesn’t know what they’re doing (me).


