Beach Inspired Wood Plank Ceiling for the Van Build
Materials needed for this project —>
Coastal Ivory planking from Home Depot
LED lights (which are dimmable!)
10 gauge wire (I used 100ft)
3/4 hardwood plywood from a local hardwood store
Wood screws for mounting the planking to the plywood furring strips and the furring strips to the van ceiling
EZ Cool for the radiant barrier (which has been working WONDERS)
Cordless drill, drill bits for pre-drilling, scissors, a pen or pencil, hole saw drill set
I’m here for ya.
Seriously! Reach out on Instagram or YouTube with questions.
Watch the video if reading bores you.
Step 1:
Decisions, decisions, decisions! What style ceiling do you want?
Originally, I was going to go with tongue and groove knotty pine planks running back to front in solid 12ft pieces. Alas, so many people go this route and I wanted to try something different. Additionally, I wanted to bring more beach vibes into my van and less stained/dark grain-filled woods (like stained knotty pine).
Because I decided to use the Coastal Ivory planks, which are only 47” long and 5” wide, I had to install my furring strips accordingly. Many people run their furring strips perpendicular to the van (running from side to side). But because I was planning to run my planks side to side, I had to install furring strips running the length of the van that would enable consistent mounting locations for each plank as it ran across the ceiling.
Step 2:
Install the EZ Cool.
Before you start attaching the furring strips to the ceiling, it’s time to install your radiant barrier, EZ Cool.
I have been so pleased with the effectiveness of my EZ Cool installation in keeping the van cool when my van is parked directly in the sun (it’s not perfect, doesn’t last all day, but it makes a big difference temperature-wise).
The way EZ Cool installation works is you install it as you’re progressing in the van build. Cut pieces to cover the exposed metal surfaces in the van (pillars, cross supports, big metal sections running along the floor).
Simply spray 3M 90 on the metal surface you’re about to cover with EZ Cool, spray the back of the EZ Cool piece you just cut, wait 30-seconds or so and then stick the EZ Cool to the surface in question! Simple as that.
Step 3:
Install your ceiling furring strips.
Now that your metal ceiling cross supports are covered in EZ Cool, start installing your furring strips.
We used somewhere between 3 and 5 inch wide planks of hardwood plywood that ran the length of the sheet of plywood we purchased (8ft long).
As much as I have been trying not to drill directly into the van during this whole process, I did end up screwing these plywood furring strips directly into the metal cross supports of the ceiling to make sure the ceiling was secure.
As we went along, we just made sure that our Coastal Ivory planks were going to find a place to attach to (and transition to the next plank) the whole length of the ceiling.
Step 4:
Start cutting and attaching your planking!
The Coastal Ivory planking I used is very thin and fairly flexible, this allowed us to bend the planks to the curve of the ceiling as we attached them.
This required two people, one to hold the plank in place to the bend of the ceiling and the other to drill the plank to the furring strip.
Be careful! If you are too quick with the drilling or too rough with the bending, the plank can crack. If I could go back, I’d go slower and pre-drill to reduce the chance of cracking and splitting.
Side note on the design of the van!
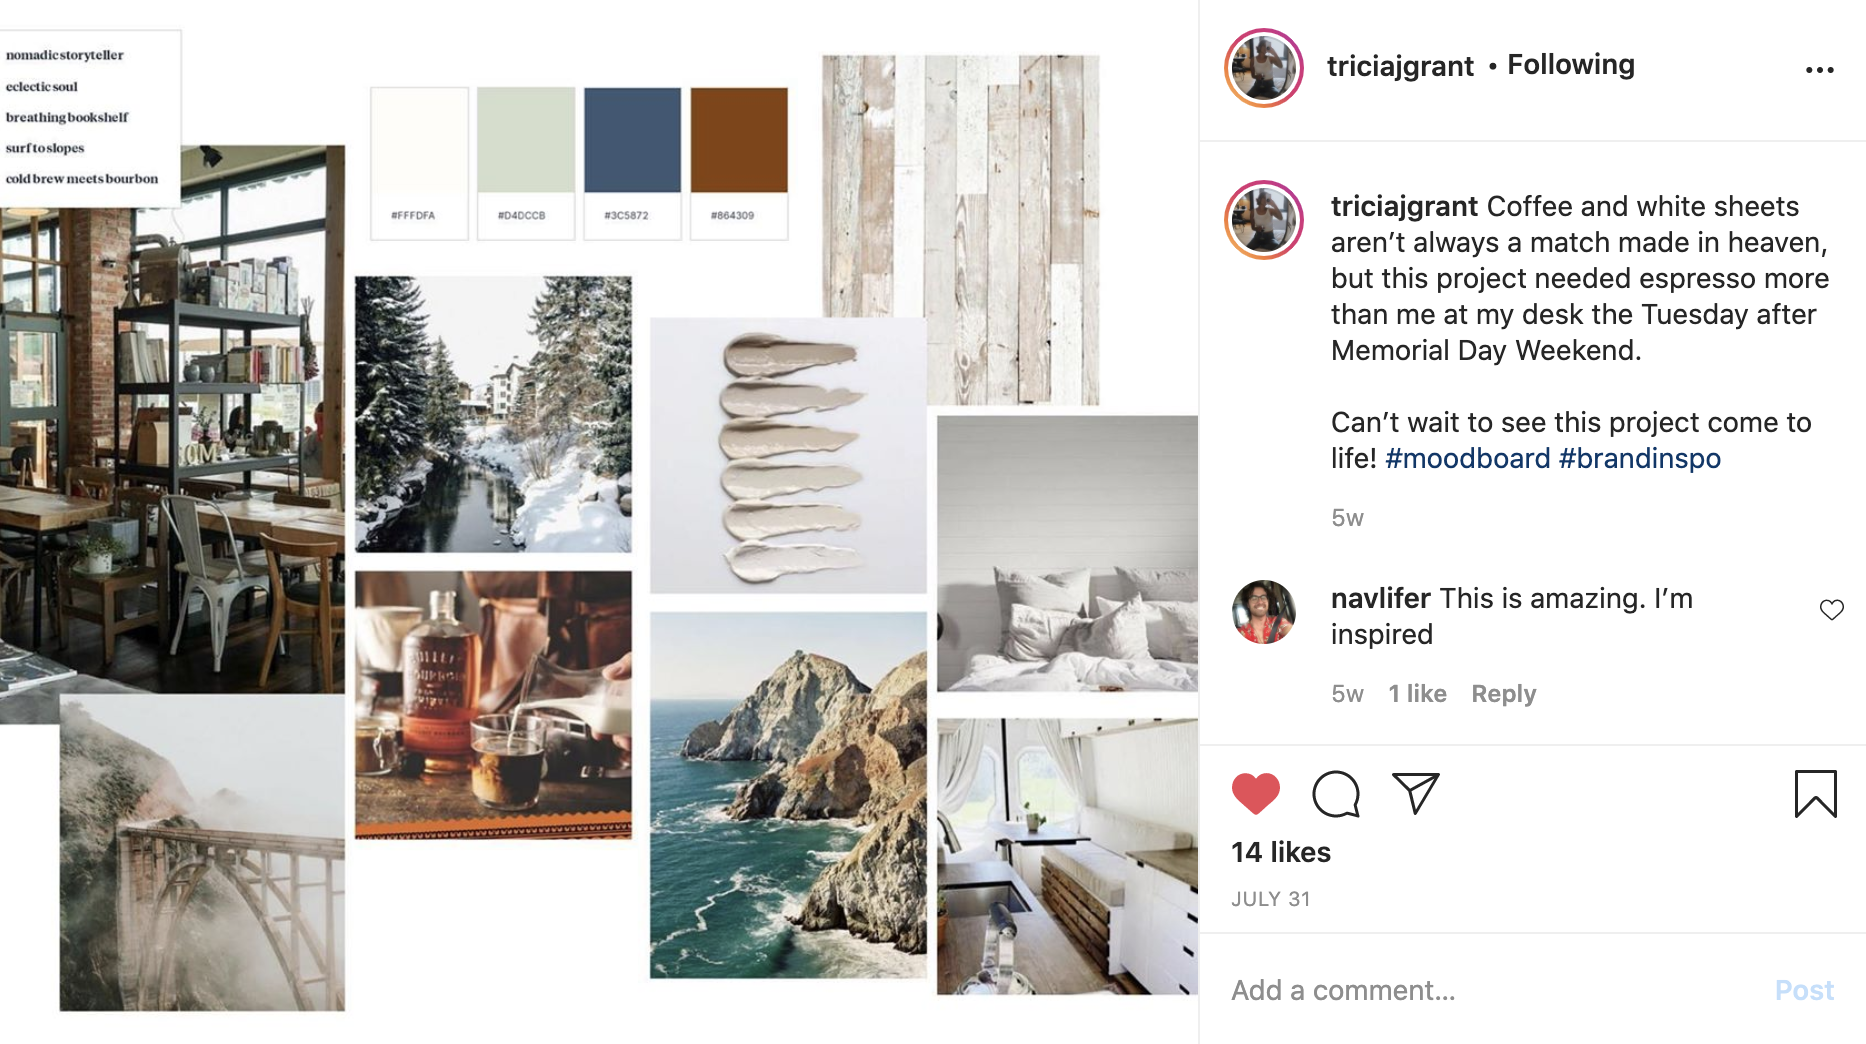
I have had incredible design expertise help from Tricia Jane Grant throughout the whole van-build process.
I felt rather lost as soon as I realized by choosing to DIY this van…I have to make it look pretty all on my own. I thought I would end up making a hideous van and regret it forever until Tricia calmed me down and helped me organize my ideas and provide inspiration and much-needed direction.
She even made this beautiful mood-board to help get things started in a consistent direction.
I can’t tell you how incredibly satisfied I am with how the van is looking aesthetically. Big thank you, Tricia!
Step 5:
Install your lights as you go.
As we installed the Coastal Ivory planks, we kept track of where we wanted to install the LED puck lights.
In order to make sure the lights were installed in a straight line (ish), we had two strings attached to the back of the van which we held up against the planks each time we came to a point where we wanted to install lights.
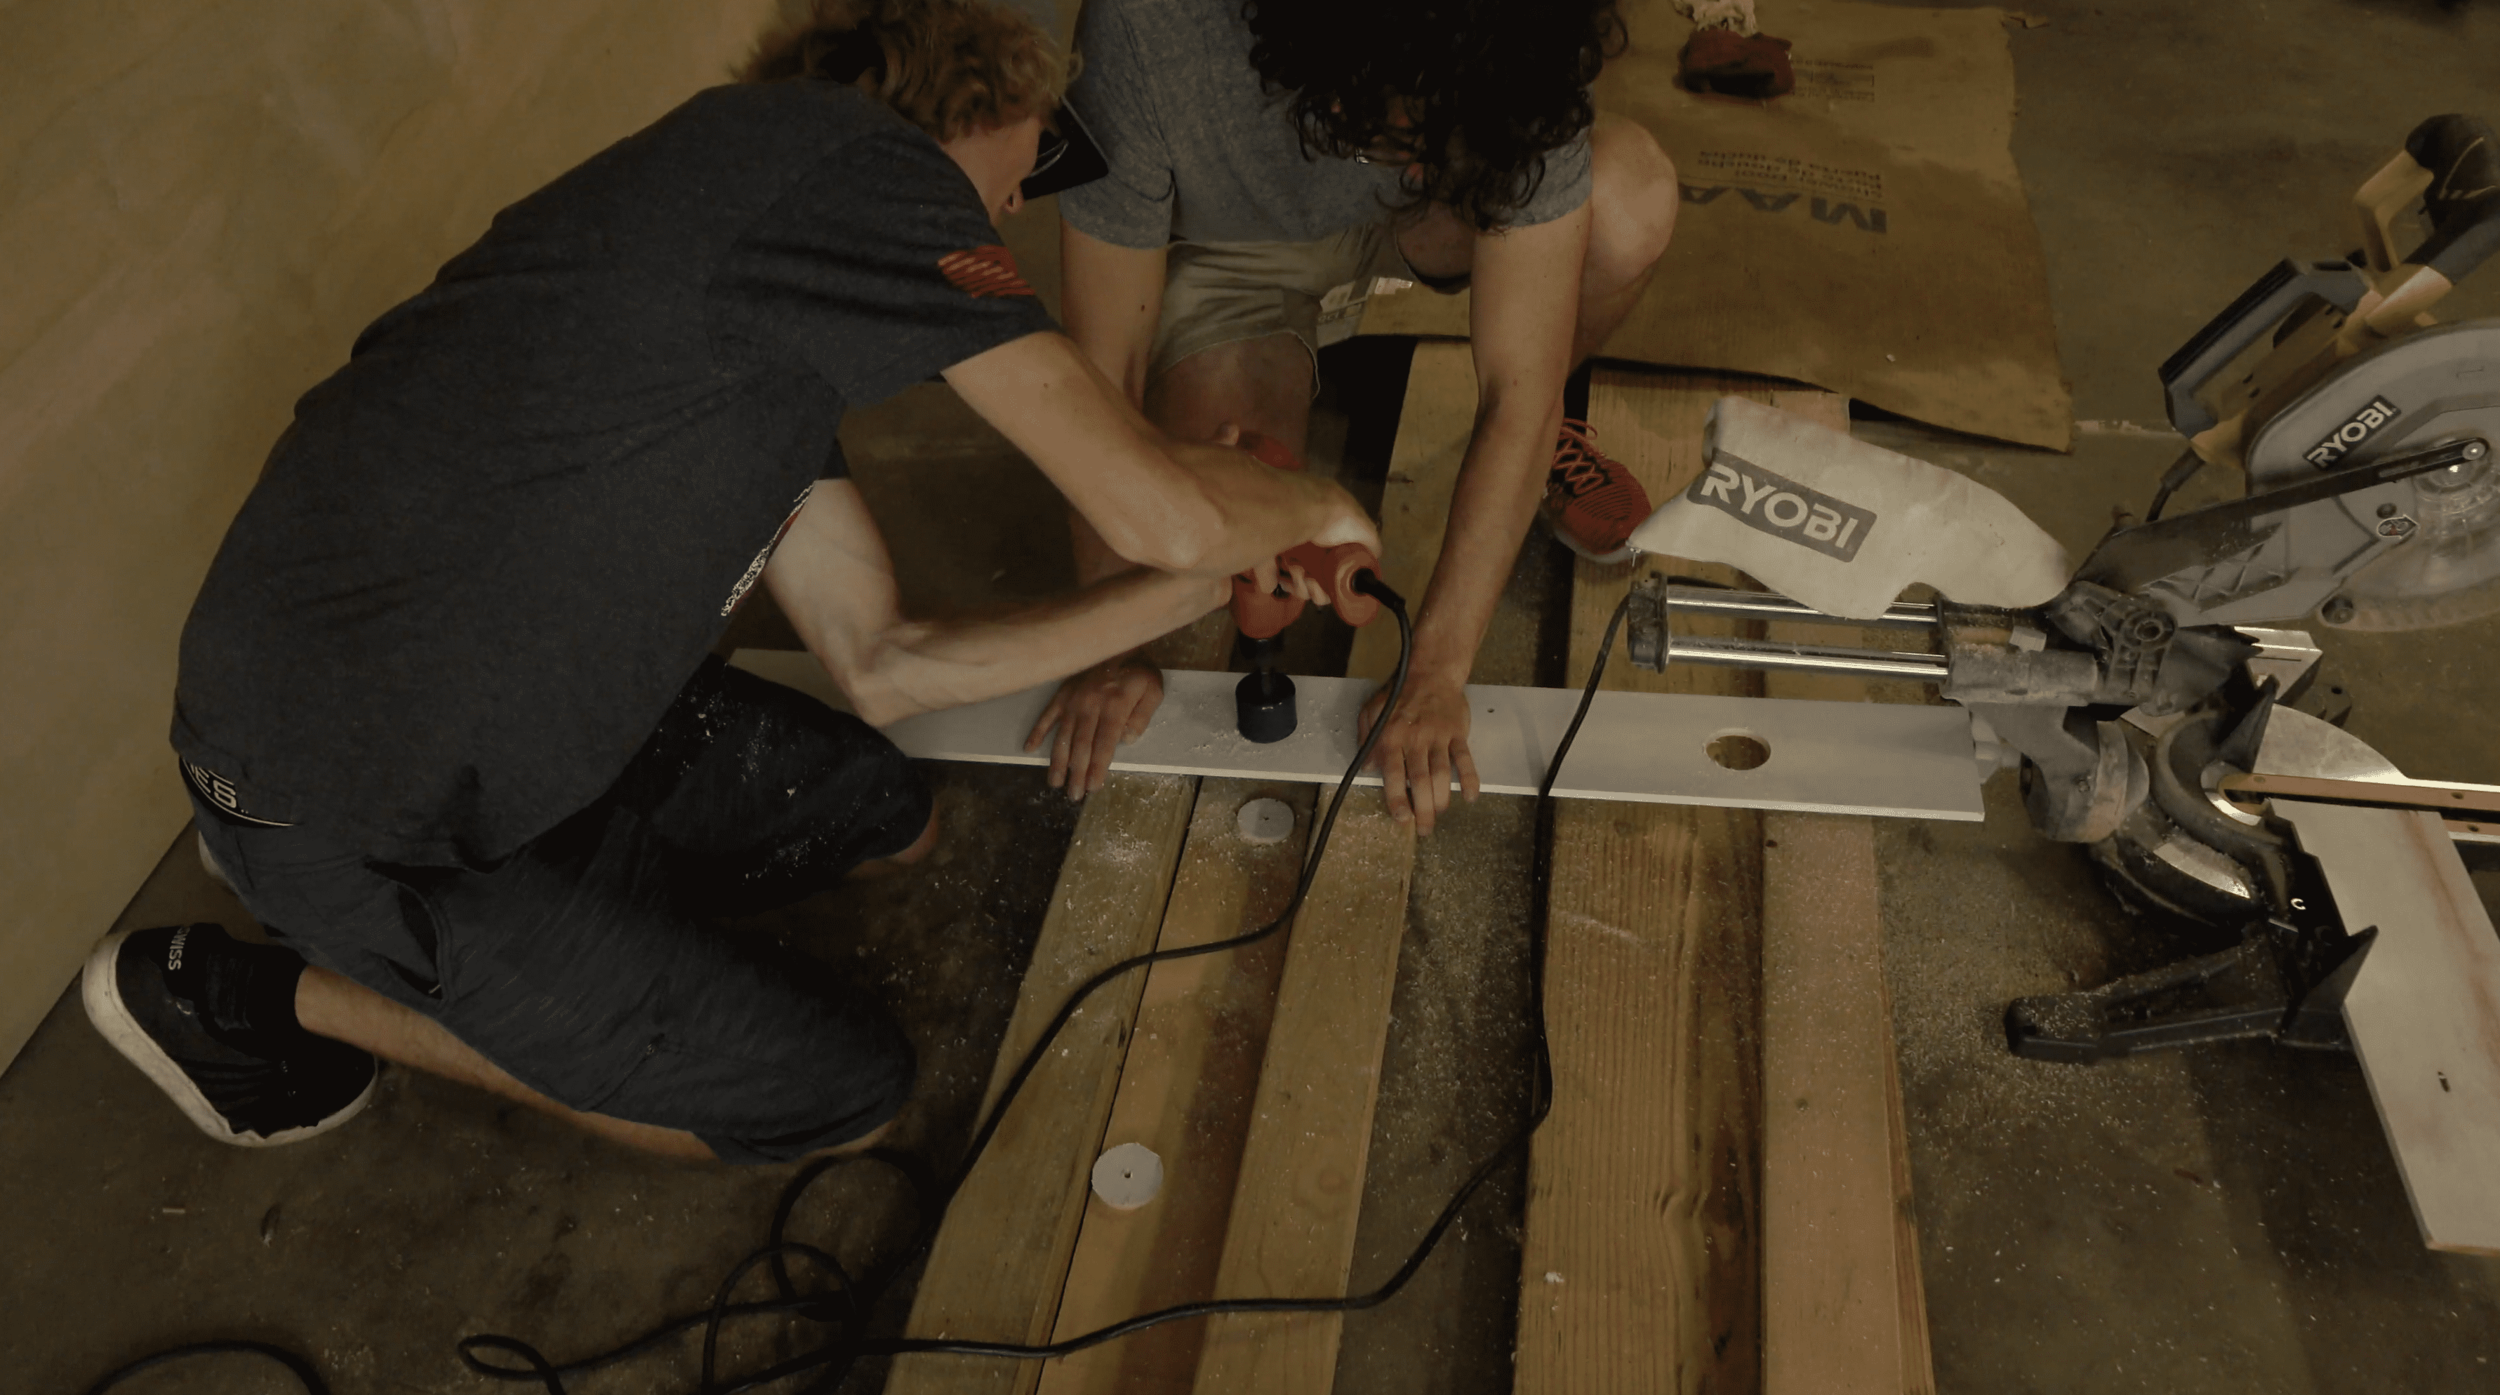
We mounted the plank in question, held the string up, marked the place where the light would go, took the plank down, drilled holes the size of the puck lights in said board, re-mounted the board in the same place it was a moment before and then attached each of our lights to the 10AWG wire already running throughout my ceiling (and the rest of the van).
Wiring each light is fairly simple. Cut the 10AWG wire in your ceiling leaving a little bit of slack to be able to pull through your newly-drilled hole, strip the insulation back, take the positive and negative wire coming off each puck light and wrap them with their respective wires on the 10AWG wire (negative with negative and positive with positive).
You will have two negative wires intertwining with the single negative from the puck light (because you cut the 10AWG wire and therefore now have two wires instead of one, technically). Then all three of those wires are fed into a connector end cap and screwed / tightened. If you press the intertwined clump of wires into the cap and turn it (righty tighty) you will feel the wires catch on the inside grooves of the cap and begin to tighten (a very satisfying feeling). Once the cap is screwed on tightly, simply wrap the connection point in electrical tape to make sure the whole thing stays sealed.
The puck lights are probably the most satisfying thing to install in the van. Prepare yourself for some pure orgasmic DIYer joy. Take the springs on each side of the light, pull them up and together and fit them up into the hole so that when you let go, the springs snap down and pull the light snug to the ceiling. Wow. That was satisfying.
Final thoughts:
I am so happy with how beautifully the ceiling is pulling together the beach vibe I want. Thank you again to Tricia for being so awesome with the beautiful design consulting!
If I could go back, I would pre-drill each plank as I mounted it rather than rush through and screw without pre-drilling. We didn’t crack too many boards but when we did it was sad and unfortunate.


